
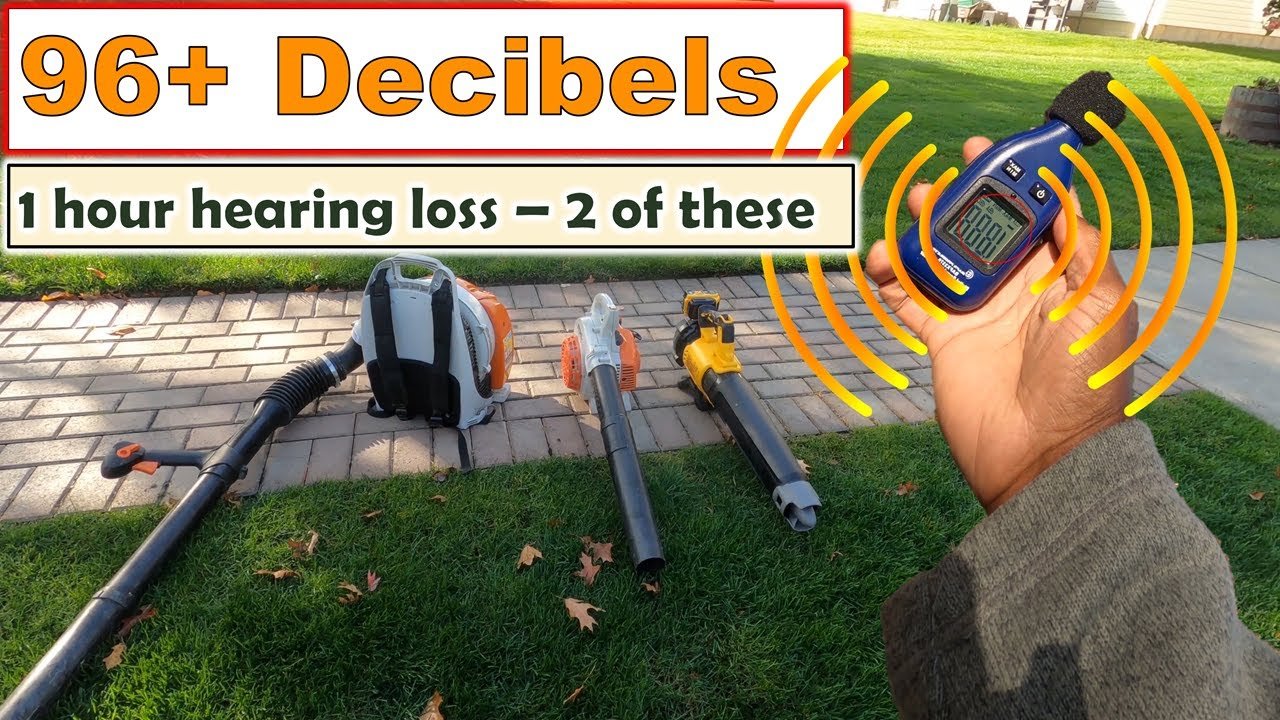
A leaf blower making a rattling noise often has a loose part, debris in the fan housing, a damaged impeller, or a worn engine component. In a U.S. yard, stop the blower before the sound gets worse. A small loose screw can damage the fan, motor, or engine if the machine keeps running.
The safest first step is to shut off the blower, unplug it or remove its battery, and let a gas model cool. Then inspect the blower tube, intake screen, housing, fasteners, fan, muffler, and recoil starter. Never place your fingers inside the intake or fan area.
The exact cause depends on when the rattle occurs:
- Rattle at idle: A loose cover, muffler shield, recoil starter, or engine part may be vibrating.
- Rattle that gets louder with speed: Debris, a damaged impeller, or a loose fan may be involved.
- Rattle only when turning the blower: A loose battery, tube, or housing panel may be moving.
- Rattle with weak airflow: The intake may be blocked, or the fan may be damaged.
- Metallic knocking from a gas engine: Stop using the blower and arrange professional service.

What a Rattling Leaf Blower Usually Means
A rattle means that one part is moving when it should not, or that a rotating part is no longer balanced. The noise may come from the air path, the motor or engine, the outer housing, or an attachment.
A leaf blower uses a motor or small gasoline engine to spin an impeller. The impeller moves air through the housing and out of the tube. If a leaf, stone, screw, or broken plastic piece enters this path, it can strike the impeller and create a rattle.
Vibration can also loosen screws and clips. Over time, the vibration may become a cycle: a loose fastener creates more movement, and that movement loosens more parts.
Common causes at a glance
| Possible cause | Typical sound or symptom | Can you inspect it at home? |
|---|---|---|
| Debris in the fan housing | Ticking, tapping, or intermittent rattle | Usually, after disconnecting power |
| Loose blower tube | Plastic buzz or rattling at the front | Yes |
| Loose housing screw | Rattle that changes when you touch the cover | Yes |
| Damaged impeller | Vibration, rough sound, weak airflow | Inspect only; replace as directed |
| Worn motor bearing | Growling or steady rough rattle | Usually needs service |
| Loose muffler shield | Tinny rattle on a gas model | Often, after the engine cools |
| Recoil starter problem | Rattle near the pull cord | Inspect externally |
| Loose battery or battery cover | Rattle when the blower moves | Yes |
| Internal engine damage | Deep knock or grinding | Stop and seek service |
These symptoms overlap. A noisy blower may have more than one problem, so use the inspection order below rather than replacing parts at random.

Safety Steps Before Inspecting the Blower
Disconnect the power source before touching the blower, tube, fan area, or housing. For a corded model, unplug the cord from the outlet. For a battery model, remove the battery. For a gasoline model, turn the engine off, let it cool, and keep the spark-plug area away from accidental contact.
Do not inspect a running blower with the guard removed. The impeller can spin at high speed, and a damaged part can break apart. The Occupational Safety and Health Administration recommends appropriate eye and hearing protection around noisy equipment, and manufacturers commonly provide similar safety instructions in owner manuals.
Follow these precautions:
- Move the blower to a stable, well-lit surface.
- Turn off the switch or ignition.
- Disconnect the battery, plug, or spark-plug lead as directed by the manual.
- Wait for moving parts to stop and for a gasoline engine to cool.
- Wear safety glasses when removing debris.
- Do not use your hand to search inside the intake.
- Do not test a gas blower indoors or in a garage.
- Replace guards and tubes before any test run.
If the blower smells like burning plastic, produces smoke, sparks, or gives a sharp electrical crackle, do not restart it. Disconnect it if you can do so safely and have it inspected.

How to Find the Source of the Rattle
Use a simple outside-in inspection. Start with parts that are easy to check and could cause further damage if ignored. The process works for most cordless, corded electric, and gas-powered leaf blowers, but the owner’s manual controls for your model.
1. Check the blower tube and nozzle
A loose tube is one of the easiest causes to fix. Remove and reinstall the tube according to the manual. Check for:
- Cracks around the locking tabs
- Missing screws or retaining clips
- A tube that twists during use
- A nozzle that does not lock in place
- Leaves, gravel, or other objects inside the tube
Shake the removed tube gently. If you hear something moving inside, clear it before reinstalling the tube.
2. Inspect the intake screen
The intake draws air toward the impeller. A clogged screen can reduce airflow and make the motor work harder. A loose screen can also buzz or rattle.
Brush away dry material with a soft brush. Do not push sticks or tools through the screen. If the screen is cracked, bent, or missing, replace it before using the blower.
3. Look for loose screws and housing parts
Check the handle, battery cover, intake cover, tube collar, and outer housing. Tighten only the fasteners identified in the manual. Do not over-tighten plastic housing screws, because the housing can crack or the screw mount can strip.
A useful clue is a rattle that changes when you gently press on a cover while the blower is off. This does not prove the cover is the cause, but it helps locate loose plastic or a missing clip.
4. Inspect the fan or impeller without touching it
Use a flashlight to look through the approved inspection opening. Search for:
- Leaves and twigs
- Small stones
- Broken plastic
- A bent fan blade
- Scuff marks inside the housing
- Black dust or signs of overheating
Do not force the impeller to turn unless the manual specifically allows it. Do not use a screwdriver to pry against the fan. A bent blade or cracked impeller usually requires replacement, not reshaping.
5. Check the battery and battery compartment
On a cordless blower, make sure the battery clicks fully into place. Look for a cracked battery case, damaged latch, loose terminal, or cover that does not close.
Do not use a battery that is swollen, hot, leaking, cracked, or damaged after a fall. Place it away from flammable items and contact the battery or tool maker for disposal instructions.
6. Check the recoil starter and muffler on gas models
A loose recoil-starter cover can make a plastic or metallic rattle near the pull cord. A loose muffler shield can create a sharp, tinny sound near the engine.
Inspect these parts only when the engine is cool. Do not remove fuel-system or engine parts unless you have the correct procedure and tools. If the sound comes from inside the engine, stop the inspection and use a qualified small-engine repair shop.

Rattle by Sound, Location, and Operating Condition
The location and timing of the noise can narrow the cause. Use the following table as a guide, not as a final diagnosis.
| What you notice | More likely causes | Best next step |
|---|---|---|
| Rattle starts as soon as the motor runs | Loose cover, tube, screen, or housing screw | Disconnect power and check external parts |
| Rattle increases with motor speed | Debris, impeller damage, bearing problem | Inspect the intake and fan area; stop if vibration is strong |
| Rattle continues after the trigger is released | A loose part may still be vibrating, or the motor may be slowing unevenly | Shut down fully and inspect; do not keep testing |
| Weak airflow plus rattling | Blocked intake, damaged impeller, clogged tube | Clear the air path and inspect the impeller |
| Deep knock from a gas blower | Internal engine problem | Stop using it and seek repair |
| Tinny rattle near the exhaust | Loose muffler or heat shield | Let it cool, then inspect the shield and fasteners |
| Rattle near the handle | Loose housing, switch, battery, or vibration mount | Check the handle and battery compartment |
| Noise only when tilted | Loose debris or a part shifting inside the housing | Stop using it and inspect for foreign objects |
| Rattle after hitting gravel | Impeller or fan damage | Do not run it again until the fan is inspected |
| Rattle after storage | Loose attachment, dried debris, or nesting material | Inspect the tube, intake, and housing |
A steady hum with mild normal vibration is different from a new rattle, grind, scrape, or knock. A change in sound is the key warning sign.

How to Fix a Rattling Leaf Blower
The correct repair depends on the failed part. Perform only repairs allowed by the owner’s manual and your skill level.
Remove loose debris
Disconnect the power source first. Remove the tube if the manual permits it. Turn the blower so the opening faces down and shake it gently. Use a soft brush or compressed air only where the manual allows it.
Do not push debris deeper into the fan housing. Do not use compressed air near a battery, electronic control board, fuel system, or sealed motor unless the manufacturer permits it.
Tighten or replace missing fasteners
Replace missing screws, clips, washers, and retaining rings with the exact parts listed for the model. A similar-looking screw may be too long and could contact the fan or damage the housing.
If a screw spins without tightening, the plastic mounting point may be stripped. Do not compensate by forcing in a larger screw. A replacement housing or approved repair may be needed.
Replace a damaged blower tube or screen
A cracked tube can vibrate and may separate during use. Replace it if the locking tabs do not hold securely. Replace a damaged intake screen rather than running the blower without one.
The intake screen protects the fan from larger objects. Removing it may seem to improve airflow, but it increases the chance of impeller damage and injury.
Replace a damaged impeller
An impeller with a broken, bent, or missing blade can cause both rattling and vibration. The part must match the exact blower model. Some impellers use left-hand threads, retaining nuts, or special washers.
If the manual does not provide a replacement procedure, use an authorized service center. An incorrectly installed impeller can come loose at high speed.
Service a worn bearing or internal engine part
A worn bearing may produce a growl, rattle, or grinding sound that remains after the tube and debris are ruled out. Internal engine damage may sound like a deep knock and may come with hard starting, smoke, or loss of power.
These repairs usually require disassembly and special tools. Continued use can turn a bearing or engine problem into a larger and more expensive failure.

When You Should Stop Using the Leaf Blower
Stop using the blower immediately if the rattle is paired with strong vibration, smoke, burning odor, sparks, reduced power, or a damaged fan. These signs suggest more than a loose cover.
Do not operate the machine if:
- The impeller is cracked or visibly damaged.
- The intake guard is missing.
- The blower tube will not lock in place.
- The housing has split near the fan.
- A battery is swollen, leaking, or unusually hot.
- A gas engine produces a deep knock or grinding sound.
- Fuel leaks from the tank, hose, or carburetor.
- The blower trips a breaker or shows electrical damage.
- The noise returns after a repair.
For a gas blower, never diagnose engine noise by running it inside a home, shed, or garage. Carbon monoxide can build up quickly in enclosed spaces. Work outdoors, away from doors and windows, and follow the manual’s fuel and maintenance instructions.
If the blower is under warranty, avoid opening sealed motor or engine sections before contacting the manufacturer. Unauthorized disassembly may affect service coverage, depending on the warranty terms.

How to Prevent Rattling and Vibration
Regular cleaning and careful handling reduce the chance of a new rattle. Before each use, check the tube, intake screen, housing, battery fit, and visible fasteners.
Use these habits:
- Keep gravel, stones, and sticks away from the intake.
- Do not drag the blower by its tube or cord.
- Store the blower in a dry place.
- Remove the battery before long-term storage.
- Keep gasoline fresh and stored as the manual directs.
- Clean leaves from the intake after use.
- Do not modify the guard, tube, muffler, or fan.
- Check fasteners at the maintenance intervals in the manual.
- Replace cracked plastic before it breaks during operation.
- Use hearing and eye protection.
A clean intake also helps the motor or engine run with less strain. However, cleaning cannot fix a bent impeller, damaged bearing, or loose internal engine part.

Key Takeaways
- A rattling leaf blower most often has loose hardware, debris, a damaged impeller, or a loose tube or cover.
- Disconnect the battery, unplug the cord, or shut down and cool a gas model before inspection.
- Start with the tube, intake screen, housing screws, and battery compartment.
- Weak airflow combined with rattling points toward a blockage or impeller problem.
- Stop using the blower if it vibrates heavily, smokes, sparks, smells hot, or makes a deep engine knock.
- Use the exact replacement parts for the model.
- A qualified repair technician should handle worn bearings and internal engine problems.
Frequently Asked Questions
Is it safe to use a leaf blower that is rattling?
It depends on the cause, but continued use is not a safe way to find out. Stop the blower and inspect it after disconnecting power. Do not use it if the fan, guard, housing, battery, or engine appears damaged.
Why does my leaf blower rattle only at full speed?
A higher speed increases vibration from an unbalanced impeller and can make a loose cover or fastener louder. Debris may also strike the fan more often. Inspect the intake and impeller area before running the blower again.
Can a clogged leaf blower make a rattling sound?
Yes. Leaves, gravel, and other debris can contact the impeller. A blocked intake can also increase motor strain and change the sound. Clear the blockage only after disconnecting the power source.
Why is my electric leaf blower rattling but still working?
The motor may still run even when a tube, housing part, fan blade, or bearing is damaged. Working airflow does not prove the blower is safe. A new rattle should be inspected before normal use continues.
Why is my gas leaf blower making a metallic knocking noise?
A metallic knock may come from a loose muffler shield, but a deep knock can indicate internal engine damage. Turn off the engine, let it cool, and inspect only the external parts. Seek small-engine service if the sound is internal or continues.
Should I replace the leaf blower or repair it?
Repair is often reasonable when the problem is a loose fastener, tube, screen, or approved replacement part. Replacement may make more sense when the housing, motor, battery, or engine has major damage and repair costs approach the price of a comparable new blower. Compare the diagnosis and parts cost before deciding.
Conclusion
A rattling leaf blower should not be ignored. Disconnect the power, inspect the tube and intake, check for loose parts, and look for impeller damage. If the rattle is deep, metallic, or paired with heat, smoke, strong vibration, or weak airflow, stop using the blower and have it serviced.
Start with the safest outside checks. If those checks do not identify the problem, use the model’s manual or contact an authorized repair center rather than guessing at internal repairs.