Wrapping toys with an open front can be a frustrating challenge, but it doesn’t have to ruin your holiday spirit. By using strategic layering, decorative inserts, and custom framing techniques, you can ensure your gift looks pristine while keeping the toy safe and secure.
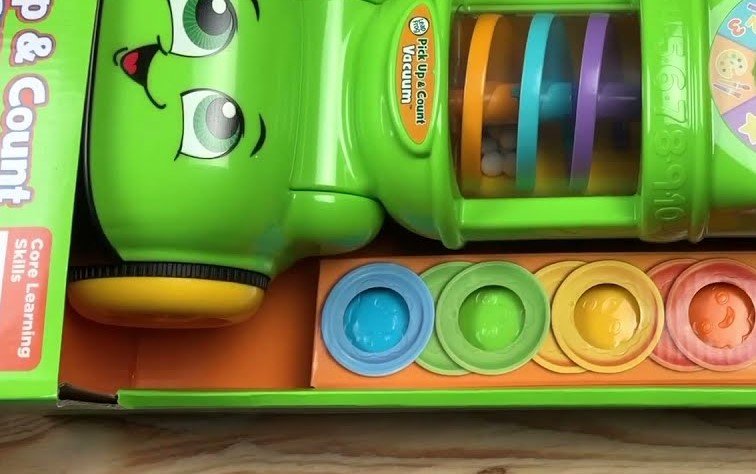
We have all been there. You find the perfect toy for a birthday or a holiday, but it has that tricky open front design. You know the kind the ones where the toy is half-exposed, touching the air, and begging to be snagged by a stray fingernail or a harsh bump during transit. It makes the task of wrapping feel like a geometric puzzle. If you have ever wondered how to wrap toys with open front designs without tearing your paper, you are in the right place.
In 2026, the toy industry continues to move toward more sustainable, plastic-free, or minimal-packaging designs. While this is great for the planet, it makes gift wrapping a little more complex. The goal is to keep the gift a surprise while ensuring the toy inside remains in perfect, brand-new condition. Whether you are a master gift wrapper or someone who usually relies on gift bags, these tips will help you master the art of wrapping tricky toys.
Key Takeaways
- The “Cardboard Shield” Method: Always create a sturdy protective layer over the open area to prevent tears in your wrapping paper.
- Layering Techniques: Use tissue paper as a base layer before adding decorative gift wrap to ensure the toy remains protected from snagging.
- Creative Framing: If you cannot cover the open front, use a frame or ribbon-based structure to highlight the toy while securing the package.
- Strategic Padding: Use soft filler materials like crinkle paper to keep small loose parts from shifting inside the open-faced packaging.
- Choose the Right Paper: Opt for high-quality, heavy-duty wrapping paper that won’t easily puncture against hard plastic edges.
- Finishing Touches: Secure your edges with high-tack tape to prevent the paper from peeling away from the toy’s plastic surface.
Understanding the Challenge of Open-Front Packaging
The primary issue with open-front toys is the lack of a flat, uniform surface. Most wrapping paper is designed to slide over cardboard boxes. When you introduce plastic windows or gaps where the toy is exposed, you are dealing with uneven tension. This tension is exactly what leads to those annoying rips and holes that happen right before you hand over the gift.
Assessing the Structure
Before you even touch your scissors, take a moment to look at the toy. Is the open section flush with the cardboard, or is the toy recessed? If the toy is recessed, you are actually in luck. A recessed toy allows you to create a bridge with cardstock that protects the toy without the paper ever touching the surface. If the toy sits flush, you need to focus on cushioning the edges.
Material Selection Matters
For open-front items, standard thin wrapping paper is your enemy. In 2026, we are seeing a massive shift toward durable, eco-friendly wrapping sheets that have a bit of “stretch” to them. If you can, choose a thicker paper or a high-quality butcher paper. These materials hold up better against the sharp corners of plastic toy packaging.
The Cardboard Shield Method
The most reliable trick for how to wrap toys with open front designs is the “Cardboard Shield.” This is a simple DIY fix that adds a protective layer between your beautiful wrapping paper and the toy itself. It is essentially like giving the gift a temporary lid.
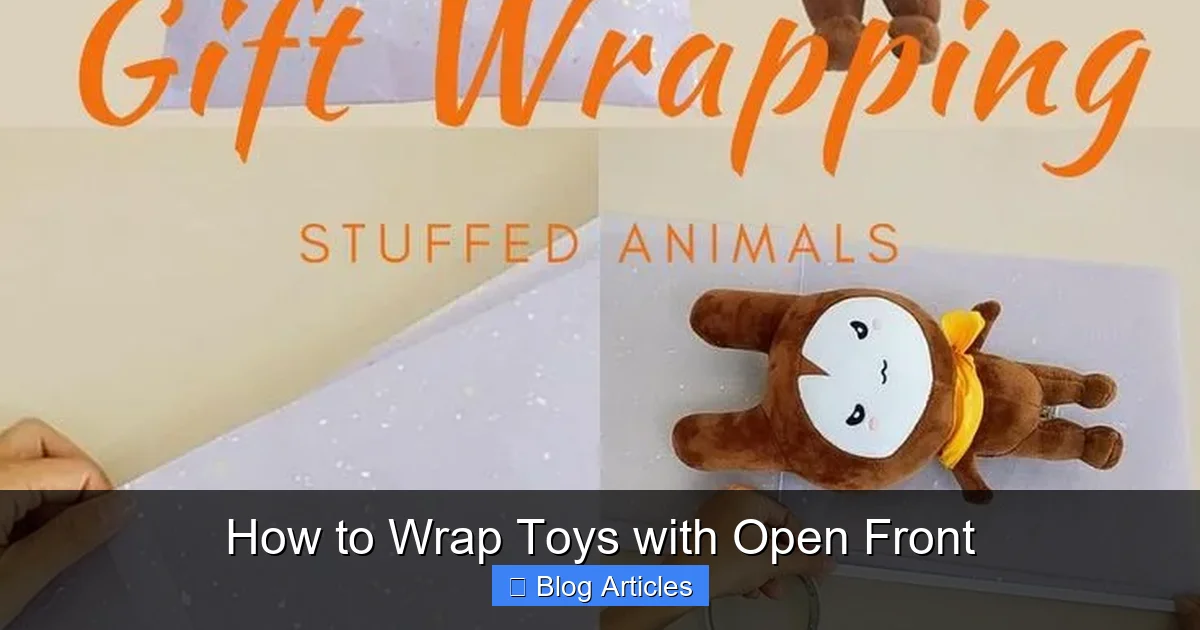
Visual guide about How to Wrap Toys with Open Front
Image source: i.pinimg.com
Creating a Custom Insert
Take a piece of scrap cardboard and cut it to be slightly larger than the opening of the toy box. You don’t want it to fit inside the hole, but rather to lay flat across it. You can secure this with a small piece of painter’s tape—which is gentle enough not to leave a residue on the toy box finish. Once this “shield” is in place, the surface of your gift is perfectly flat and ready for wrapping.
Why This Works
By creating a flat surface, you eliminate the risk of the wrapping paper getting caught on the edges of the toy. It also prevents the paper from sagging into the void. A sagging package looks messy, but a crisp, flat-wrapped box looks professional. Even if the recipient can tell it is a toy, they will appreciate the effort put into the presentation.
Layering Techniques for Extra Protection
Sometimes, a simple cardboard shield isn’t enough, especially if the toy has delicate protrusions or loose bits that aren’t fully secured. In these cases, layering becomes your best friend. Start by wrapping the toy in a layer of soft tissue paper. This adds a level of sophistication and provides a buffer zone.
The Tissue Paper Base
Place the toy face down on a stack of tissue paper. Wrap it snugly but not too tightly. Because tissue paper is pliable and soft, it will conform to the shape of the toy without causing damage. Once the tissue paper is secure, you can wrap the outer layer of decorative paper over it. The tissue paper acts as a protective skin, keeping the toy pristine.
Managing Loose Parts
If the open-front box has small accessories that feel loose, consider taping them down with clear, low-tack adhesive dots before you wrap the toy. You don’t want the recipient to open the gift only to find a small piece floating at the bottom of the wrapping paper. Securing these items inside the “shield” or the tissue layer ensures everything stays together as a complete unit.
Creative Alternatives to Traditional Wrapping
If you find that the toy is just too oddly shaped to wrap, don’t force it. The art of giving is about the surprise, not about perfect paper creases. In 2026, many gift-givers are embracing hybrid wrapping styles that turn the “tricky” nature of the toy into a design feature.
The Ribbon-Frame Technique
Instead of wrapping the entire box, try a “ribbon frame” approach. Wrap the main body of the box but leave the open front exposed. Then, use thick, patterned ribbon to create a frame around the opening. You can tuck a decorative sprig of greenery or a gift tag into the ribbon. This keeps the toy safe while making the design look intentional and stylish.
Custom Fabric Wraps
Fabric wraps, often known as Furoshiki, are incredibly forgiving. Unlike paper, fabric is soft and stretchy. Because it doesn’t tear, it is the perfect solution for toys with sharp edges. You can wrap the toy box, leaving the open front slightly covered by the folds of the fabric, which provides a natural cushion and a beautiful, textured look.
Tips for Professional-Looking Results
Even if you are not an expert, you can achieve a clean look by focusing on the details. Professional wrappers focus on tight corners and hidden seams. When learning how to wrap toys with open front boxes, these small habits will take your gift from “homemade” to “boutique.”
Using High-Tack Tape
Standard clear tape often fails on the glossy surface of toy boxes. Look for high-tack double-sided tape. It holds the paper firmly in place against the plastic or cardboard, ensuring that your wrap job stays intact during transit or under the tree. Always place the seam of the paper on the back of the toy box to keep the front clean.
Adding Weight and Balance
If the toy is top-heavy because of the way it is packaged, it might tip over while you are trying to wrap it. Place a small, heavy object like a book or a heavy box behind the toy to act as a counterweight. This keeps the toy stationary, allowing you to use both hands to pull the paper taut and get those sharp, clean lines.
Conclusion: Embrace the Process
Learning how to wrap toys with open front designs is a skill that will save you time and frustration during every gift-giving season. By using the Cardboard Shield method, choosing the right materials, and maybe even pivoting to fabric wraps, you can handle any gift with confidence. Remember, the recipient will be thrilled by the thought you put into the gift itself, but they will definitely notice the care you took in the wrapping.
As we move further into 2026, the trend toward thoughtful, intentional gift-giving is stronger than ever. Taking the time to handle a difficult shape with care is a gesture of love in itself. So, don’t shy away from those odd-shaped toys in the aisle. With these tools in your pocket, you are ready to make every present look like it was wrapped by a professional.
How do I stop the paper from tearing on the toy’s sharp edges?
Use a piece of sturdy cardboard cut to the size of the opening to create a protective “shield” over the toy. This creates a flat, smooth surface for your wrapping paper to sit on, preventing it from snagging on plastic.
Is tissue paper necessary for wrapping toys?
While not strictly necessary, tissue paper provides an excellent buffer layer that protects the surface of the toy. It also adds a nice, soft aesthetic touch when the recipient tears through the outer layer.
What if my toy is too big to wrap?
If the toy is too large or awkwardly shaped, consider using a large fabric wrap or creating a decorative ribbon frame. Alternatively, you can use a high-quality gift bag and disguise the open front with a large bow or a custom gift tag.
What type of tape should I use for glossy toy boxes?
Glossy packaging can cause standard tape to peel off quickly. Use high-tack double-sided tape or specialized craft adhesive to ensure your paper stays securely attached to the box surface.
Can I wrap a toy without covering the open front?
Yes, you can use the “frame” method by wrapping the cardboard edges of the box and leaving the front window exposed. Decorate the frame with ribbons or bows to make the design look intentional and festive.
Why is my wrapping paper sagging over the toy opening?
Sagging usually happens because there is no support across the void. By placing a cardboard insert or a layer of stiff tissue paper under the wrapping paper, you will maintain a crisp, flat surface that looks much more professional.