
Keeping your baby’s teething toys clean is essential for their health and comfort. This guide covers the safest ways to sterilize teething toys using heat, steam, or mild soap to ensure your little one plays in a germ-free environment. Follow these simple steps to protect your baby from harmful bacteria while soothing their sore gums.
Welcoming a new baby into the home is such an exciting journey, but it also brings a big responsibility: keeping things clean. As your baby enters the teething phase, it seems like every toy they touch ends up directly in their mouth. Since their immune systems are still developing, learning how to sterilize teething toys is one of the most important chores for any parent or caregiver in 2026.
Teething toys are designed to provide relief, but they can quickly become breeding grounds for bacteria, saliva, and dust. While you do not need to turn your home into a medical laboratory, being consistent with your cleaning routine will give you great peace of mind. Let’s walk through the best ways to keep those essential soothing tools safe and ready for action.
Key Takeaways
- Read the Label: Always check manufacturer instructions first, as some materials melt or degrade under high heat.
- Daily Maintenance: Frequent cleaning with mild soap and warm water is usually sufficient for day-to-day hygiene.
- Sterilization Methods: Use boiling water, steam sterilizers, or the dishwasher for deep cleaning, depending on the toy type.
- Inspect Before Use: Regularly check toys for cracks or tears where bacteria can hide and potentially harm your baby.
- Air Drying is Crucial: Always allow toys to air dry completely to prevent mold growth in damp crevices.
Understanding the Basics of Toy Safety
Before you start tossing every toy into boiling water, it is vital to understand that not all materials are created equal. Silicone is the gold standard for teething, but wood, fabric, and plastic all require different levels of care. In 2026, we have access to many high-quality, eco-friendly teething options, but each one has a limit.
Checking the Manufacturer Instructions
The first step in knowing how to sterilize teething toys is to check the packaging or the brand’s website. Some manufacturers specifically state that their products are dishwasher safe or boilable. If a toy says “do not boil,” it usually means there is a liquid center or a specific adhesive that could break down under high temperatures. Never assume that “safe for babies” means “safe for the microwave.”
When to Clean Versus When to Sterilize
It is important to distinguish between daily cleaning and deep sterilization. Daily cleaning involves wiping away drool and surface dirt, which can be done with a mild, fragrance-free soap. Sterilization, on the other hand, is a deeper process meant to kill germs that might cause illness. You don’t need to sterilize every single hour; a deep clean once or twice a week is usually perfect.
The Boiling Water Method
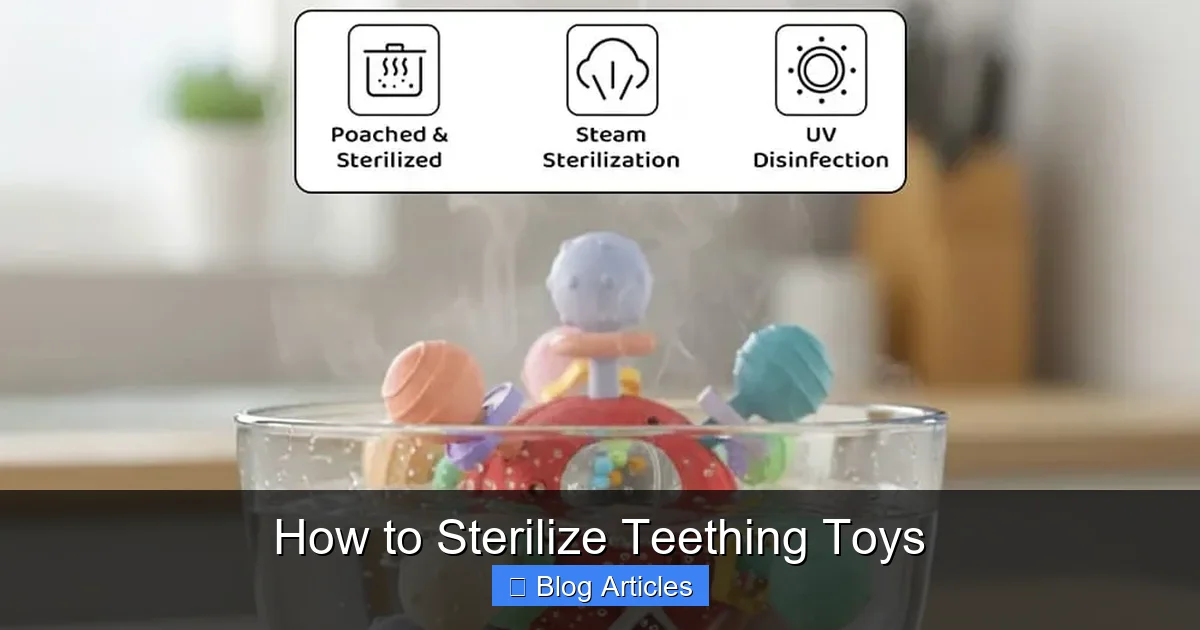
Boiling water remains one of the most traditional and effective ways to sterilize teething toys. It is free, chemical-free, and highly reliable. This method is best suited for 100% silicone or hard plastic toys that can withstand high temperatures.
Step-by-Step Boiling Process
Start by filling a large pot with clean water and bringing it to a rolling boil. Use tongs to gently place the teething toys into the water. Let them boil for about three to five minutes. This timeframe is generally enough to kill common household bacteria. After the time is up, carefully remove the toys and place them on a clean, dry towel. Allow them to cool completely before handing them back to your baby.
Important Safety Tips for Boiling
Always ensure the toys are fully submerged. If they float, they might not get equal heat distribution. Furthermore, never leave the stove unattended while boiling toys. If you are using plastic, ensure it is BPA-free, as some older plastics can leach chemicals when exposed to prolonged heat.
Utilizing Steam and Dishwashers
If you already own a bottle sterilizer, you have the perfect tool at your disposal. Steam sterilization is efficient and handles multiple toys at once. It is often faster and less labor-intensive than boiling a pot of water on the stove.
Using a Steam Sterilizer
Most modern steam sterilizers work by using high-temperature vapor to eliminate germs. If your teething toys are heat-resistant, simply arrange them in the tray so that the steam can reach every surface. Follow the cycle instructions provided by your device’s manual. This is an excellent way to sanitize several toys simultaneously while you handle other baby chores.
The Dishwasher Convenience
For those of us living busy lives, the dishwasher is a lifesaver. Many silicone teething toys are dishwasher safe. Place them on the top rack, away from the heating element. Run a hot cycle with a gentle, non-toxic detergent. This provides a very effective sanitizing rinse that leaves toys sparkling clean.
Cleaning Delicate and Non-Heat-Resistant Toys
Not every teething toy can survive the heat. Wooden teethers, fabric-covered items, or those with electronic components require a gentler touch. You cannot sterilize these with heat, so you must rely on manual cleaning techniques.
The Soap and Water Method
For wooden toys or those with fabric attachments, mix a solution of warm water and mild dish soap. Dip a clean cloth into the soapy water and wipe the toy down thoroughly. Focus on the crevices where drool can accumulate. Rinse the cloth with fresh water and wipe the toy again to remove any soap residue. Pat the toy dry with a lint-free towel.
Natural Sanitizing Options
If you prefer a more natural approach, you can use a solution of white vinegar and water. Mix one part white vinegar to four parts water. This is a natural disinfectant. Wipe the toys down, rinse well, and let them air dry. The vinegar smell will disappear as the toy dries completely, leaving it clean and fresh for your baby.
Proper Drying and Storage Habits
Learning how to sterilize teething toys is only half the battle. How you store them afterwards is just as critical. Many parents make the mistake of putting damp toys back into a storage bin, which can lead to mold and mildew growth inside the toy or on the surface.
Air Drying is Essential
After you have cleaned or sterilized your toys, lay them out on a clean, dry drying rack or a fresh paper towel. Avoid using the same kitchen sponge you use for dishes, as those can actually transfer bacteria back onto the clean toy. Ensure they are in a well-ventilated area so they dry completely in under an hour.
Storage Best Practices
Once dry, store the toys in a clean, dust-free container. A dedicated basket or a sealable bag works well. Avoid leaving toys on the floor where pets can reach them or dust can settle. Keep the storage bin clean by wiping it down regularly, as keeping the “home” for the toys clean is just as important as the toys themselves.
When to Replace Your Teething Toys
Even with the best cleaning habits, everything has a lifespan. As we approach late 2026, many parents are becoming more conscious of product safety. If a teething toy has cracks, frayed fabric, or signs of wear, it is time to say goodbye. Bacteria can hide in these tiny tears, making them impossible to fully sterilize.
Signs of Wear and Tear
Check your toys every few days. If the color is fading significantly, if there are deep bite marks that look like they could trap food particles, or if the texture has become sticky or brittle, discard it. It is always better to be safe and replace the item than to risk your baby chewing on something that is no longer hygienic.
Sustainable Disposal
If you are looking to replace items, consider donating gently used plastic or silicone toys to a shelter if they are still in great condition, or recycling them if your local facility accepts that type of plastic. Being mindful of our impact on the planet while caring for our babies is a great balance to strike.
Keeping your baby’s teething toys clean is a simple habit that makes a world of difference. By choosing the right method for the material—whether that is a quick soap-and-water wipe or a thorough steam session—you are creating a safe, comfortable environment for your little one to explore. Stay consistent, inspect your toys often, and enjoy these precious months of watching your baby grow. Your hard work in maintaining hygiene today sets the stage for a healthy, happy child tomorrow.
Frequently Asked Questions
How often should I sterilize teething toys?
For most babies, a deep sterilization once a week is sufficient if you are cleaning them daily with mild soap. If your baby has been sick or the toy has fallen on a dirty surface, you should sterilize it immediately.
Can I put wooden teething toys in the dishwasher?
No, you should never put wooden toys in the dishwasher or boiling water. The heat and moisture will cause the wood to warp, crack, or grow mold; always wipe them with a damp, soapy cloth instead.
Are microwave sterilizer bags safe for teething toys?
Yes, microwave steam bags are safe for most silicone and plastic toys, provided the manufacturer label confirms they are heat-resistant. Always follow the timing instructions on the bag carefully to avoid melting the toys.
Is it safe to use bleach to clean toys?
It is generally not recommended to use bleach on items that go directly into your baby’s mouth, as chemical residue can be harmful. Stick to mild dish soap, boiling water, or a vinegar-water solution for safety.
How do I dry toys to prevent mold?
Place toys on a clean, ventilated drying rack and ensure they are not touching each other. Avoid storing them until they are 100% dry to ensure no moisture is trapped in the crevices.
What should I do if my baby’s toy has a liquid center?
If a teether is filled with liquid (like a water-filled ring), do not boil or microwave it, as it can burst. Instead, wash it with warm, soapy water and rinse thoroughly by hand.