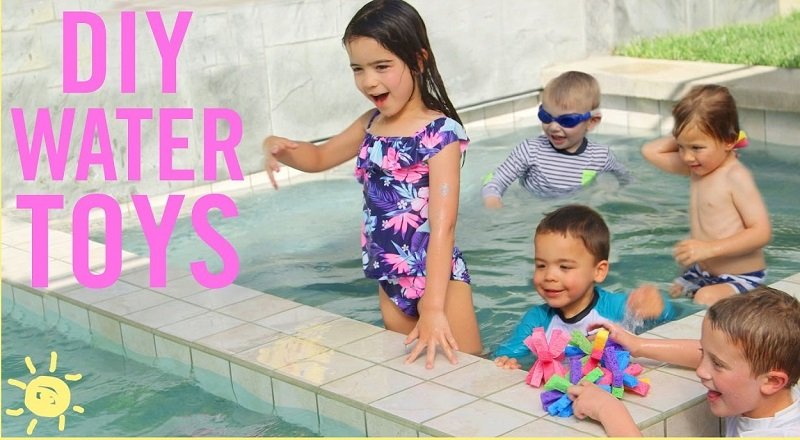
Making your own pool toys is the perfect way to add a personal touch to your summer fun while saving money. By using recycled household materials and a little creativity, you can craft unique games that will keep the whole family entertained in the water all season long.
Summer is finally here, and as the 2026 heat sets in, nothing beats the feeling of a cool dip in the backyard pool. But sometimes, even the most inviting water can get a little boring if you do not have anything to play with. You might be tempted to head to the store and spend a fortune on plastic inflatables that end up popping before the weekend is over. Instead, why not try to make pool toys yourself? It is a fantastic way to spend an afternoon, and the results are often much more durable and fun.
Making your own gear is like unlocking a secret level of summer enjoyment. You get to decide exactly what you want to play with, from floating obstacle courses to personalized water-launching gadgets. Whether you are hosting a neighborhood pool party or just want to entertain the kids during a lazy Tuesday, these DIY projects will turn your pool into the ultimate destination. Let’s dive into how you can become a master crafter of aquatic fun.
Key Takeaways
- Material Selection: Always prioritize waterproof, buoyant, and non-toxic materials like pool noodles, foam, and recycled plastics.
- Safety First: Ensure all edges are smooth and avoid small parts that could pose a choking hazard for younger children.
- Cost-Efficiency: DIY pool toys often cost a fraction of store-bought versions and allow for complete customization.
- Durability Matters: Use marine-grade adhesives or weather-resistant fasteners to ensure your creations last through the 2026 swim season.
- Creativity Unleashed: Pool toys can double as exercise equipment or learning tools, not just playthings.
📑 Table of Contents
Choosing the Right Materials for Your Projects
The secret to great DIY gear is choosing items that can handle constant exposure to chlorinated or saltwater. Not everything is meant for the water, and nobody wants a soggy mess floating in their skimmer basket. You want materials that are lightweight, durable, and naturally buoyant.
The Magic of Pool Noodles
If there is one king of DIY pool toys, it is the humble foam pool noodle. These colorful tubes are cheap, soft, and nearly impossible to sink. You can slice them, duct-tape them together, or thread them with rope to create almost anything. For 2026, we are seeing a trend of using these to create “floating castles” or giant rings for target practice.
Choosing Waterproof Adhesives
Standard glue will fail the moment it hits the water. To make pool toys that last, you need to invest in marine-grade silicone or waterproof industrial tape. When you are putting together your projects, take your time with the seals. If water gets trapped inside a hollow structure, it can grow mold, which is something you definitely want to avoid.
Building Floating Obstacle Courses
Why just swim when you can race? A backyard obstacle course is the gold standard for summer activity. It keeps kids moving and provides a challenge that evolves as they get faster and stronger. The best part is that you can adjust the difficulty based on who is playing.
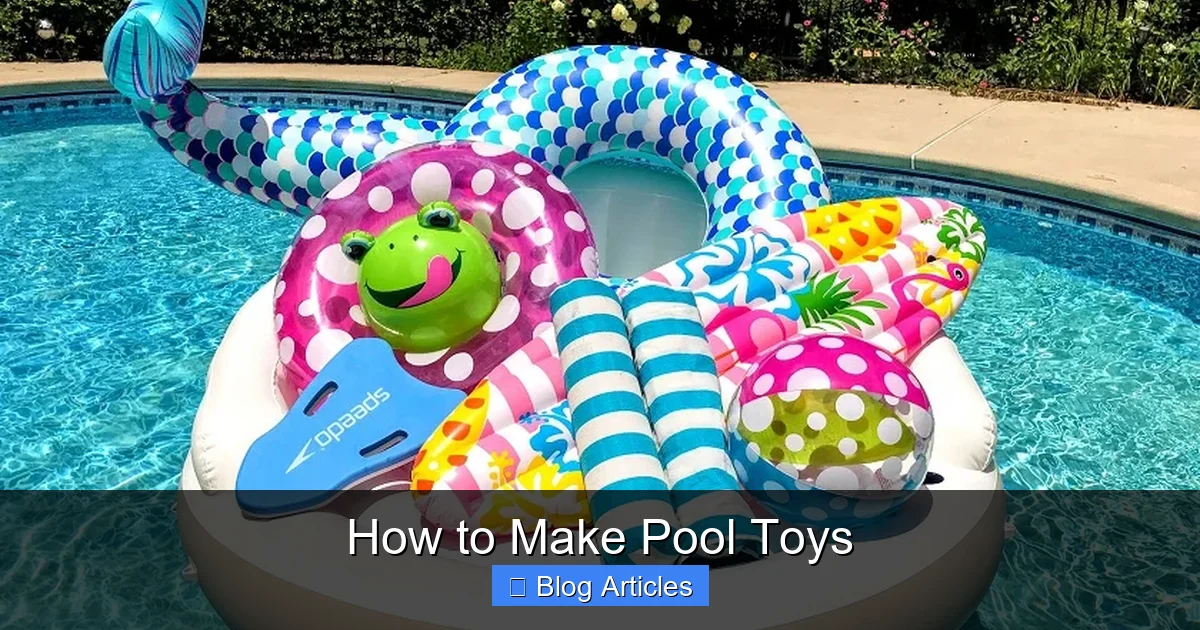
Visual guide about How to Make Pool Toys
Image source: everysingletopic.com
Creating Floating Rings
Take two pool noodles and bend them into circles, securing the ends with waterproof tape. Attach these rings to a weighted base or anchor them to the side of the pool using suction cups. You can create a series of hoops that swimmers have to dive through or maneuver around. This is a simple way to make pool toys that double as agility training equipment.
Building Balance Beams
Use larger foam logs to create a balance beam that stretches across a shallow part of the pool. If you connect three or four noodles together side-by-side with heavy-duty zip ties, you create a floating bridge. It is great for testing balance and usually ends in a hilarious splash, which is half the fun of making pool toys that challenge your friends.
Crafting Games for Underwater Play
Sometimes the best fun happens beneath the surface. Kids love to hunt for treasure, and making your own diving toys is much more satisfying than buying generic plastic ones. You can customize the weight and the color to make the game as challenging as you like.
DIY Diving Rings and Gems
Did you know you can make pool toys that sink at different speeds? Use recycled plastic containers and fill them with varying amounts of sand or pebbles before sealing them with waterproof glue. Paint them in bright, neon colors so they are easy to spot at the bottom of the pool. If you want to get fancy, you can shape them into sharks, rings, or sunken treasure chests.
The Weighted Noodle Dive
Take short sections of pool noodles—about six inches long—and insert a heavy metal bolt or nut into the center. Seal the hole with a silicone plug. These will sink slowly, creating a perfect target for children to practice their breath-holding and swimming skills. It is one of the safest and most effective ways to make pool toys for young learners.
Floating Loungers and Relaxation Stations
Not every project needs to be about high-energy play. Sometimes, you just want to float. Making your own loungers allows you to create custom sizes that fit you perfectly. If you are tall or just want extra support for your head, DIY is the way to go.
The Mesh Noodle Chair
This is a classic project. Take a pool noodle and weave it through a piece of sturdy, water-safe mesh fabric. You can create a simple “sling” seat that lets you float with your body partially submerged, keeping you cool while you read or relax. This is one of the most comfortable things you can make pool toys-wise for a long day in the sun.
Custom Floating Coolers
Keep your drinks close by building a floating base for a small plastic bin. Use large pieces of high-density foam glued to the bottom of the bin to provide buoyancy. Make sure the foam is thick enough to support the weight of ice and beverages. You will be the hit of the 2026 pool party with your own DIY snack and drink station.
Safety and Maintenance Tips for 2026
When you take the time to make pool toys, you want them to last. However, safety must always come first. The environment of a swimming pool—with chemicals, sun, and constant motion—can be hard on materials. Inspecting your gear is just as important as building it.
The Inspection Routine
Before every swim session, give your DIY creations a quick check. Look for loose tape, sharp edges, or signs of wear and tear. If you used zip ties to connect materials, ensure the ends are trimmed flush and covered with a bit of tape so they do not scratch anyone’s skin. Safety is the foundation of a good time.
Proper Storage
The sun is the biggest enemy of your DIY projects. UV rays will break down foam and plastic over time. When the day is done, do not leave your gear baking on the deck. Store them in a shaded area or a ventilated storage bin. This simple habit will extend the life of your gear, ensuring you do not have to make pool toys from scratch every single week.
Conclusion
Learning how to make pool toys is more than just a craft project; it is a way to reclaim the summer. By using simple, recycled, or inexpensive materials, you can create a backyard water park that is uniquely yours. From floating obstacle courses that build agility to custom loungers that offer the perfect rest, the possibilities are only limited by your imagination.
As we navigate the 2026 swim season, remember that the goal is joy. Do not worry if your first attempt at a water-shooter is a little leaky or your balance beam wobbles a bit too much. The process of building them together with friends or family is just as memorable as the time spent playing in the water. So, grab your foam, your waterproof glue, and your creativity. It is time to make a splash with your very own handcrafted gear.
Frequently Asked Questions
What are the safest materials to use for DIY pool toys?
The safest materials are closed-cell foam (like pool noodles), marine-grade plastics, and non-toxic, waterproof adhesives. Avoid using metal parts that can rust or sharp objects that could cause injury during play.
How do I make my DIY pool toys last longer?
To maximize longevity, keep your toys out of direct sunlight when not in use and rinse them with fresh water after swimming to remove chlorine or salt. Proper storage in a cool, shaded area prevents UV degradation of the materials.
Can I make pool toys for small children?
Yes, but ensure they are lightweight and do not have small parts that could detach and become a choking hazard. Always supervise children during water play, regardless of the toys being used.
What is the best way to attach pool noodles together?
Heavy-duty, waterproof duct tape or marine-grade silicone works best for holding foam pieces together. For stronger structural connections, consider using nylon rope or plastic zip ties, ensuring the sharp ends are covered.
How do I keep my DIY toys from getting moldy?
Ensure that all hollow structures are completely sealed so water cannot enter. If a toy does get water inside, drain it thoroughly and let it dry completely in the sun before storing it away.
Are DIY pool toys cheaper than buying them?
In most cases, yes, especially if you use recycled household items like plastic bottles or foam scraps. Even when buying new materials, a bulk pack of pool noodles can be transformed into multiple high-quality toys for a fraction of the retail price.