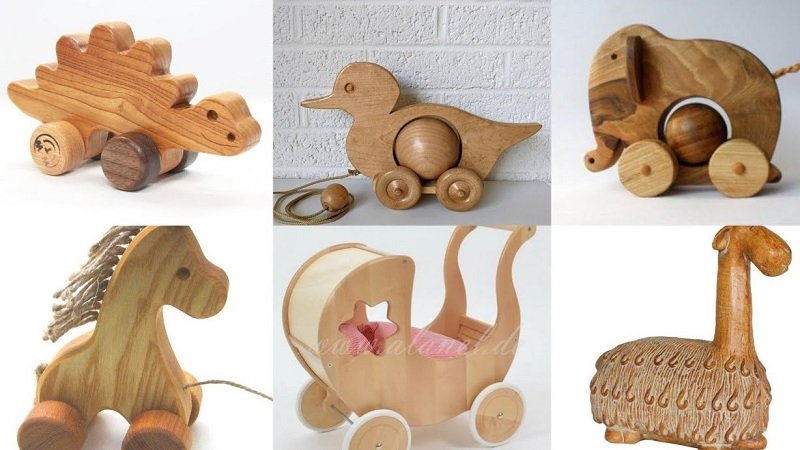
Creating handmade wooden toys is a rewarding craft that combines artistic expression with timeless utility. In this guide, we walk you through the entire process, from selecting the right materials to applying child-safe finishes, ensuring you can build heirloom-quality gifts that spark joy for years to come.
There is something truly magical about a handmade plaything. In a world increasingly dominated by plastic gadgets and digital screens, learning how to make wooden toys offers a refreshing return to simplicity and craftsmanship.
When you build a toy with your own hands, you are not just creating an object; you are creating a memory that can be passed down through generations. Whether you are a parent looking for a unique gift or a hobbyist seeking a relaxing project, woodworking provides a wonderful outlet for your creativity.
As we move through 2026, the resurgence of natural, sustainable playthings has never been stronger. People are looking for quality over quantity. Making your own items means you know exactly what materials were used, ensuring they are safe, durable, and environmentally friendly. In this guide, we will explore the essentials of how to make wooden toys, helping you transform a simple block of lumber into a cherished childhood treasure.
Key Takeaways
- Safety First: Always prioritize non-toxic materials and smooth, rounded edges to ensure every wooden toy is safe for play.
- Choosing Wood: Hardwoods like maple and birch are ideal for making wooden toys because they are durable and resist splintering.
- Essential Tools: You do not need a full professional shop; a basic jigsaw, sander, and hand tools are enough to learn how to make wooden toys effectively.
- Precision Matters: Accurate measurements and templates are the foundation of professional-looking toys that fit together perfectly.
- Sanding is Key: Success in crafting is 80% sanding; taking your time to refine the surface creates a professional, touchable finish.
- Finishing Touches: Use food-grade oils or water-based varnishes to protect your project without exposing children to harmful chemicals.
Choosing the Right Materials for Your Toys
Before you make your first cut, you must select the right wood. Not all lumber is created equal, and for toys, your choice impacts both durability and safety. Hardwoods are almost always the best choice when learning how to make wooden toys because they have a tight grain structure, meaning they are less likely to splinter or crack over time.
Recommended Wood Species
Maple is arguably the gold standard. It is incredibly hard, light in color, and smooth to the touch. Because it lacks a strong grain pattern, it is easy to sand to a silky finish. Birch is another excellent option; it is widely available and affordable, making it perfect for beginners. For those looking for a bit of contrast, walnut adds a beautiful dark, rich tone to any project, though it is usually more expensive.
Avoiding Softwoods
You should generally avoid softwoods like pine or cedar for small toys. These woods are often too soft, meaning they will dent easily when played with. Furthermore, pine can sometimes bleed sap, which is sticky and difficult to clean. When learning how to make wooden toys, stick to domestic hardwoods to ensure your final product holds up to the rigors of childhood play.
Equipping Your Workshop for Success
A common misconception is that you need a massive shop full of industrial machinery to learn how to make wooden toys. In reality, you can achieve beautiful results with a modest set of tools. The goal is to focus on quality work rather than speed. Start with the basics and expand your collection as you get more comfortable with your techniques.
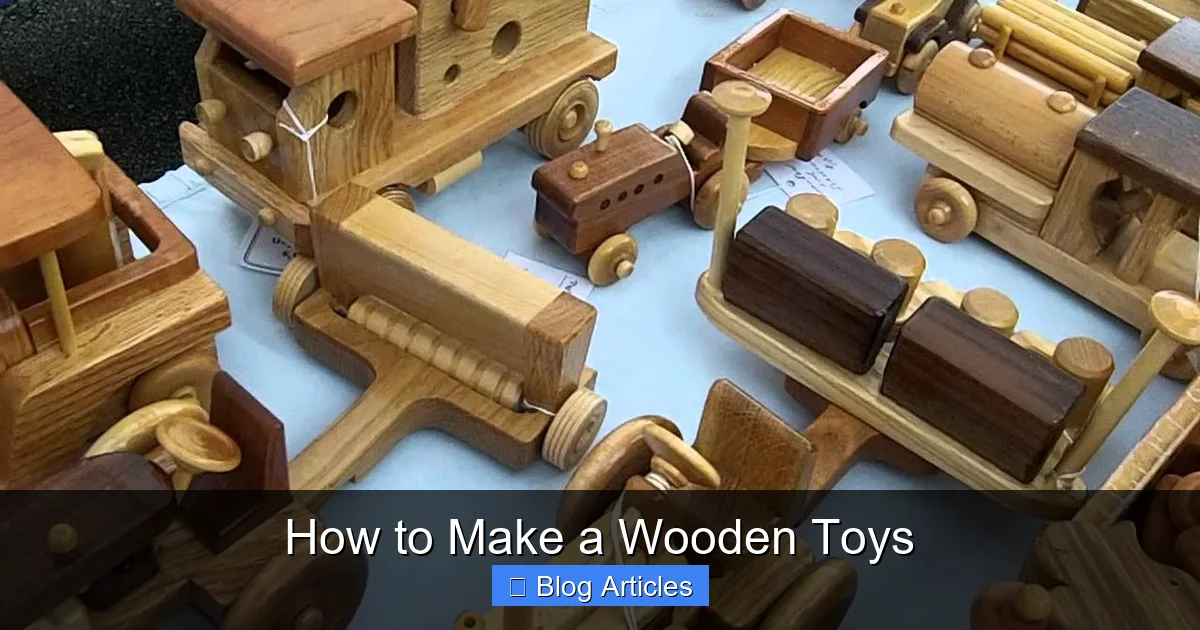
Visual guide about How to Make a Wooden Toys
Image source: i1.ytimg.com
Must-Have Hand and Power Tools
At a minimum, you will need a jigsaw or a scroll saw to cut out your shapes. A random orbit sander will save you hours of manual labor, though sanding blocks are essential for tight corners. A drill is necessary for creating holes for wheels or joints. Finally, a set of quality wood glue is your best friend. Choose a brand that is non-toxic and water-resistant to ensure your toy stays together for years.
Setting Up a Safe Workspace
Before you begin, ensure your workspace is well-ventilated and well-lit. When you learn how to make wooden toys, you will be creating a significant amount of dust. A shop vacuum or a simple dust mask is essential for your respiratory health. Keep your workbench clear of debris so you can focus entirely on the precision required for your build.
The Design Process: Templates and Planning
Every great toy starts on paper. Before you pick up a saw, sketch out your design. If you are new to this, do not hesitate to use free online patterns. Learning how to make wooden toys is easier when you follow a proven plan. Templates allow you to trace your design directly onto the wood, ensuring that every piece is cut to the exact same size.
Creating Your Own Patterns
If you prefer to design your own, start simple. Think of classic shapes like animals, cars, or building blocks. When designing, consider the “nesting” of pieces—how you can cut multiple parts from one board to reduce waste. Once you have a paper template, use spray adhesive to attach it to the wood, cut along the lines, and then peel the paper away.
Accounting for Assembly
Always consider how pieces will connect. Will you use dowels, screws, or just glue? For children’s toys, glue and wooden pegs are safer than metal screws, which can rust or loosen over time. When you plan your assembly, think about the movement of the toy. If it has wheels, ensure your axles are sturdy and properly spaced so the toy rolls smoothly across the floor.
Mastering Cutting and Shaping Techniques
The cutting stage is where your design comes to life. Accuracy here saves you a mountain of work later. When you learn how to make wooden toys, you will quickly discover that the goal is not to cut perfectly, but to cut confidently. Take your time, follow your lines, and let the tool do the work.
Safe Cutting Practices
Always use push sticks when feeding small pieces through a saw. Keep your fingers at a safe distance from the blade at all times. If you are using a scroll saw, take advantage of its ability to make tight, intricate turns. For straight cuts, a miter saw or a simple hand saw with a guide will give you much better results than trying to freehand it.
Smoothing Rough Edges
After the cutting is done, you will have rough edges. This is where the magic of shaping happens. Use a wood rasp or a spindle sander to smooth out the transition between curves. Remember, when you learn how to make wooden toys, you are aiming for tactile comfort. There should be no sharp edges anywhere on the finished piece.
Sanding: The Most Important Step
If there is one secret to professional-looking projects, it is sanding. Most beginners rush this step because it is repetitive, but the best makers know that sanding is where the quality is built. You cannot hide bad sanding under a finish; it will only highlight the scratches and imperfections.
Progressing Through Grits
Start with a medium grit, such as 80 or 120, to remove the saw marks. Once the surface is uniform, move up to 180, and finish with 220 or even 320 for an incredibly smooth feel. Always sand in the direction of the wood grain to avoid leaving cross-grain scratches that will become visible once you apply oil or paint.
Hand-Sanding Tight Spots
Power sanders are great for flat surfaces, but they cannot reach every nook and cranny. Use folded sandpaper or specialized contour sanding sponges to get into the tight curves of your toys. When learning how to make wooden toys, you must develop an eye for detail. Feel the wood with your fingertips; if you feel a snag, keep sanding until it is perfectly smooth.
Applying Safe Finishes
The final step in our journey is applying a finish. This protects the wood from moisture and grime, and it brings out the beautiful natural color of the lumber. When you learn how to make wooden toys for children, you must choose a finish that is safe if it ends up in a mouth.
Choosing Non-Toxic Options
Stick to food-grade mineral oils, beeswax, or linseed oil. These finishes are natural, easy to apply, and can be easily touched up if the toy gets scratched later. If you want to add color, look for non-toxic, water-based stains or dyes specifically marked as toy-safe. Avoid heavy varnishes or old-school lacquers that may contain VOCs.
The Art of the Finish
Apply your chosen oil with a clean rag, rubbing it into the wood fibers. Let it sit for a few minutes, then wipe off any excess. Depending on the wood, you might want to apply a second or third coat. This process will transform the dull, sanded wood into a vibrant, glowing object that is soft to the touch and ready for years of play.
Congratulations, you have successfully learned how to make wooden toys that matter! In conclusion, the craft of woodworking is a journey that rewards patience and practice. By selecting quality hardwoods, focusing on safety, and committing to the sanding process, you can create pieces that carry a soul and a history that mass-produced plastic items simply cannot match.
Every scratch in a piece of wood tells a story, and as your toys are played with, they will only grow more beautiful over time. Pick up your tools, start simple, and enjoy the process of creating something truly meaningful.
Frequently Asked Questions
What is the best wood for beginners?
Maple and birch are excellent choices because they are dense, easy to sand, and do not splinter easily. These hardwoods provide a smooth surface that is perfect for both painted and natural finishes.
Are oil finishes safe for children?
Yes, as long as you use food-grade oils such as mineral oil, flaxseed oil, or beeswax. Always check the label to ensure the product is 100% non-toxic and free from chemical additives.
Do I need a large workshop to build toys?
Not at all! You can learn how to make wooden toys using just a few handheld power tools or even high-quality manual tools in a small garage or even a dedicated corner of a basement.
How do I make my toys last longer?
Focus on strong joinery using wood glue and dowels rather than relying solely on nails or screws. Proper sanding and a high-quality protective oil finish will also help the toy resist moisture and wear.
Is it better to paint or stain wooden toys?
This is a personal preference. Stains highlight the natural grain of the wood, while non-toxic paints allow for vibrant, imaginative designs that children often love.
How do I fix a mistake in my wood project?
Wood is a forgiving medium. Most small gaps can be filled with a mixture of wood glue and sawdust, while deep gouges can be sanded down or re-shaped to blend into the design.