Wrapping a toy car can be a tricky task because of its awkward angles and bumpy wheels. In this guide, we show you the best professional techniques to turn a simple gift into a beautifully wrapped surprise that looks amazing every time.
There is nothing quite like the excitement of giving a child a brand new toy car. Whether it is a sleek racing model, a chunky construction truck, or a classic vintage convertible, these toys are always a hit. However, wrapping them can feel like a bit of a challenge. Unlike a simple rectangular box, a toy car has curves, wheels, and protrusions that can make the paper tear or look lumpy. By 2026, we have moved toward more creative and sustainable gifting methods, but the classic art of wrapping a toy car remains a staple skill for any gift-giver.
In this guide, we will walk you through the process of how to wrap a toy car so it looks like it came straight from a high-end boutique. You do not need to be a professional gift wrapper to achieve these results. With a few simple tools, a little bit of patience, and the right techniques, you can master the art of gift presentation. Let’s dive into the world of creative wrapping and make your next gift stand out under the tree or at the birthday party.
Key Takeaways
- Preparation is essential: Always remove price tags and clean the toy car surface before you begin to ensure the paper sticks well.
- Choose the right paper: Use high-quality, flexible gift wrap or tissue paper to navigate the curves and edges of the toy car easily.
- Master the corners: Use the “pleat and fold” method to keep corners sharp and tidy, preventing bulky paper buildup.
- Secure with care: Use double-sided tape for a seamless look that hides your adhesive and makes the wrapping look professional.
- Add flair: Personalize the final look with ribbons, small bows, or custom tags that match the theme of the car.
Gathering Your Essential Wrapping Supplies
Before you start the actual wrapping process, you need to ensure you have the right tools. Having everything within reach will make the process much smoother and prevent you from having to hunt for tape while holding a half-wrapped car. You want to make sure your work area is clean and clear so you do not accidentally damage the toy.
Selecting the Right Paper
When you are figuring out how to wrap a toy car, the weight and texture of your paper matter. Thick, stiff paper is very difficult to work with on small curves. Instead, opt for a medium-weight wrapping paper or even high-quality kraft paper. In 2026, eco-friendly wrapping options like recycled tissue paper or cloth wraps are also gaining popularity. These materials are much more flexible and can conform to the shape of the car without tearing.
Tools of the Trade
Make sure you have a pair of sharp scissors, high-quality double-sided tape, and perhaps some decorative ribbon. Double-sided tape is a game-changer because it hides the seams of your wrapping, giving the finished product a polished, professional finish. If you want to get creative, consider adding a custom gift tag that matches the color of the car.
Preparing the Toy Car for Wrapping
Before the paper even touches the gift, you need to do a little bit of prep work. This ensures that the toy is protected and that the wrapping process goes off without a hitch. Most toy cars have small parts, so taking these steps is vital for a great outcome.
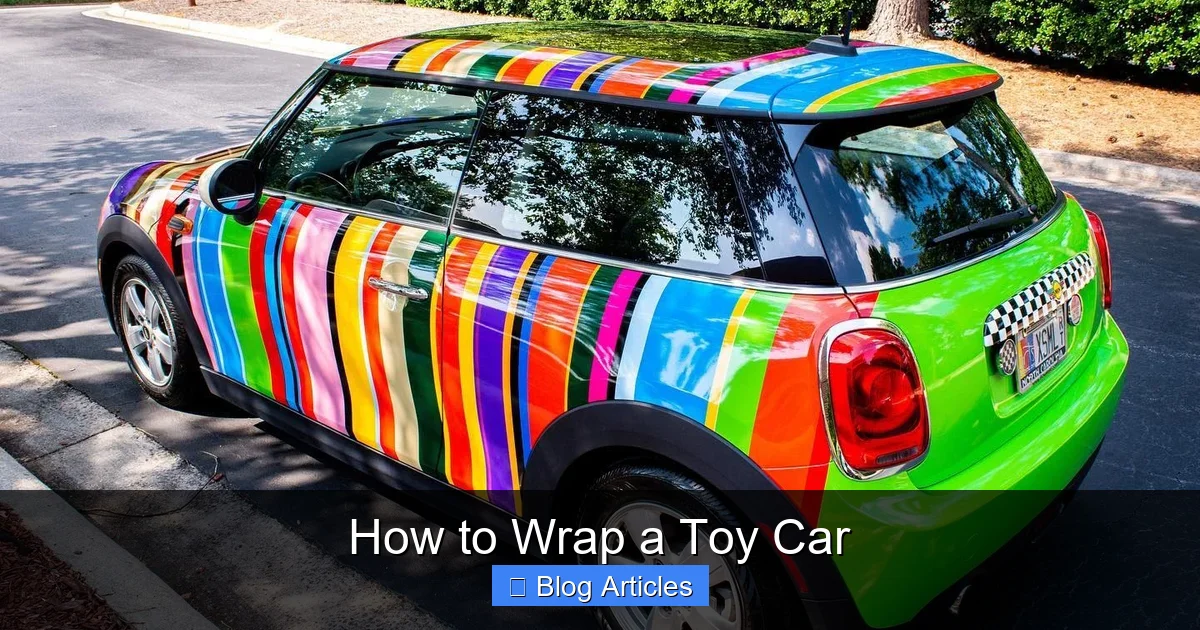
Visual guide about How to Wrap a Toy Car
Image source: allprowraps.com
Safety and Cleanup
First, double-check that the toy car is in good condition. If it is a new purchase, remove the price tag carefully. If there is a stubborn sticker, use a little bit of rubbing alcohol or a specialized sticker remover to clear the residue. You do not want a sticky spot ruining the inner lining of your paper.
Filling the Gaps
Sometimes, toy cars have open windows or hollow interiors. If you are worried about the paper caving in, you can place a small piece of tissue paper inside the cabin. This provides a bit of structure, which helps the outer layer of gift wrap maintain its shape. It is a small detail, but it makes a big difference in how crisp the final package looks.
The Step-by-Step Wrapping Technique
Now, it is time to wrap. The key to a perfect result is to avoid forcing the paper into shapes it does not want to take. Work slowly and fold your way around the curves. By following this method, you will learn how to wrap a toy car effectively every time.
Measuring the Paper
Do not just cut a random square of paper. Place your toy car in the center of the sheet and pull the paper up around the sides. You want enough excess to reach over the top of the car, but not so much that you have an unmanageable amount of bulk. Excess paper is usually the biggest enemy of a clean wrap.
Folding and Pleating
Start by folding the long sides up and securing them with tape. When you get to the front and back of the car, you will notice the paper wants to bunch up. Use your fingers to create small pleats. Fold the paper inward toward the center, pressing it flat as you go. This creates a pleated fan effect that looks very intentional and sophisticated, hiding the bulk of the paper while protecting the toy.
Advanced Tips for a Professional Finish
Once you have mastered the basic wrap, you might want to level up. If you are gifting a collection of cars, or if you really want to impress, these tips will elevate your gift-giving game.
Working with Odd Shapes
If you are dealing with a toy car that has a large spoiler or protruding exhaust pipes, do not try to wrap them tightly. Instead, create a “tent” over these areas. Use the paper to build a small box around the delicate parts, providing a layer of air between the toy and the paper. This keeps the toy safe from being crushed while you transport the gift.
Adding Decorative Elements
In 2026, minimalism is in, but a well-placed accessory can still go a long way. Tie a small piece of twine around the car or attach a personalized wooden tag. If you are wrapping a sports car, you might even consider using a ribbon that matches the racing colors. These little touches show that you put thought into the presentation, not just the purchase.
Overcoming Common Wrapping Challenges
Even with the best instructions, you might hit a snag. Learning how to wrap a toy car often involves a bit of trial and error. Here is how to handle the most common issues people face.
Dealing with Tearing
If the paper tears, do not panic. Use a small piece of tape on the inside of the paper to mend the rip. Then, use a decorative sticker or a bow to cover the area on the outside. This is a classic “pro tip” that saves a project from having to be started over.
When Paper Is Too Thick
If you find that your chosen paper is simply too thick to conform to the curves, consider changing your approach. Wrap the car in a thin layer of tissue paper first. This provides a soft base layer that is easy to fold. Then, wrap the thicker, decorative paper over that. It adds a nice, premium weight to the gift and makes the whole process easier.
The Final Presentation
The goal of wrapping is to create anticipation. When the person receiving the gift sees the car, the wrapping should look neat and inviting. Remember that the recipient will want to open it quickly, so try not to use an excessive amount of tape. A few well-placed pieces of double-sided tape are much better than a whole roll of scotch tape wrapped around the entire toy.
By following these steps, you have successfully learned how to wrap a toy car for any occasion. Whether it is for a holiday, a birthday, or a surprise gift, your attention to detail will surely be appreciated. The time you take to wrap the toy demonstrates the value you place on the recipient, turning a simple plastic vehicle into a memorable gift-giving moment.
FAQs
What is the easiest paper to use for wrapping a toy car?
Lightweight wrapping paper or standard tissue paper is the easiest to use. These materials are flexible enough to conform to the curves of the car without tearing easily.
Should I remove the toy from the box before wrapping?
It depends on the presentation you want! If you are wrapping an unboxed car, the methods in this article are perfect, but keeping it in the box is much easier if you prefer a standard, crisp-edged shape.
How do I hide the tape?
Using double-sided tape is the secret to a professional look. By applying the tape to the inside of the paper folds, you can keep the seams invisible and clean.
Can I wrap a car with unusual parts like spoilers or mirrors?
Yes, just be gentle. Create a “tent” of paper around those delicate parts to avoid snapping them, or wrap them individually with a small piece of tissue paper first for extra protection.
What if I don’t have wrapping paper?
You can use alternatives like newspaper, old maps, or even a piece of fabric. Fabric is especially great for cars because it is durable and easy to tie into a knot at the top.
Is it better to use a bag or wrap it directly?
A gift bag is faster, but wrapping it directly in paper is more traditional and creates more excitement during the opening process. Choose whichever fits your time constraints and the importance of the gift!