
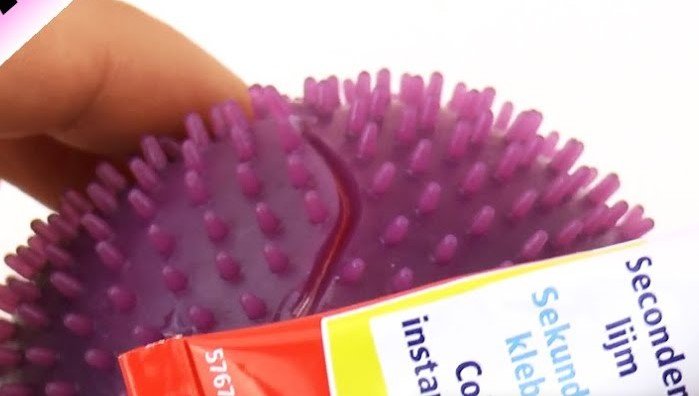
Don’t throw away your favorite stress-relief items just because they have a little wear and tear. By learning how to repair squishy toys using simple household adhesives and patching techniques, you can restore their satisfying texture and extend their lifespan significantly. This guide walks you through the best methods to keep your collection squishy, soft, and fun for years to come.
We all have that one squishy toy that we just cannot put down. Whether it is a slow-rise panda, a sparkly galaxy donut, or a classic stress ball, these tactile treasures are the ultimate way to de-stress. However, the very nature of these toys—being squeezed, stretched, and squished repeatedly—means that wear and tear are inevitable. Over time, you might notice tiny hairline cracks, small rips, or even larger gashes appearing on the surface of your favorite items. Instead of tossing them into the trash, you can easily save them.
If you have ever wondered how to repair squishy toys, you have come to the right place. Repairing these foam-based items is a surprisingly simple process that requires only a few inexpensive materials. With the right technique, you can seal those gaps and get your collection back to its original, satisfying state. This guide will show you the tricks to keep your squishies feeling brand new well into 2026 and beyond.
Key Takeaways
- Preparation is Essential: Always clean the area around the tear thoroughly with rubbing alcohol before attempting any repair to ensure the adhesive bonds properly.
- Choosing the Right Glue: Not all glues work on polyurethane foam; flexible fabric glues or specialized silicone sealants are the best choices for durability.
- Preventing Further Damage: You can apply thin layers of clear, flexible adhesive to high-stress areas before they rip to proactively reinforce your squishies.
- Texture Matters: When repairing, avoid using super glues, as they turn the foam brittle and create hard, uncomfortable spots that ruin the squishiness.
- Patience is Key: Always allow your repaired squishy toy to cure for at least 24 hours to ensure the bond is fully set and flexible enough for squeezing.
📑 Table of Contents
Understanding Why Squishies Rip
Before we dive into the repair process, it helps to understand why your squishies break in the first place. Most modern squishies are made from polyurethane foam. This material is designed to be lightweight and porous, which gives it that signature “slow-rise” effect. Because the material is porous, it is prone to micro-tears if it is stretched beyond its limits or poked by sharp objects like fingernails.
The Problem with Sharp Objects
The most common cause of damage is fingernail pressure. When you squeeze a squishy, your fingers often dig into the foam. Over time, these tiny indentations turn into deep rips. If you notice your squishy starting to show small dots or lines, it is usually a sign that the foam is reaching its structural limit in that specific spot. Catching these early is a major part of knowing how to repair squishy toys effectively.
Environmental Factors
Temperature and humidity can also play a role. If you store your collection in a place that gets very hot, the foam can become brittle. Brittle foam loses its ability to return to its original shape and starts to crack under pressure. Keeping your collection in a cool, dry place is the best way to prevent these issues, but even with the best care, accidents happen. That is where our repair techniques come into play.
Essential Supplies for Your Repair Kit
You do not need a professional workshop to fix your collection. In fact, most of the items you need can be found in your junk drawer or at a local craft store. The most important rule to remember is that you need a flexible adhesive. Rigid glues, like traditional super glue, will cause the foam to harden, creating a permanent, uncomfortable knot in your soft toy.
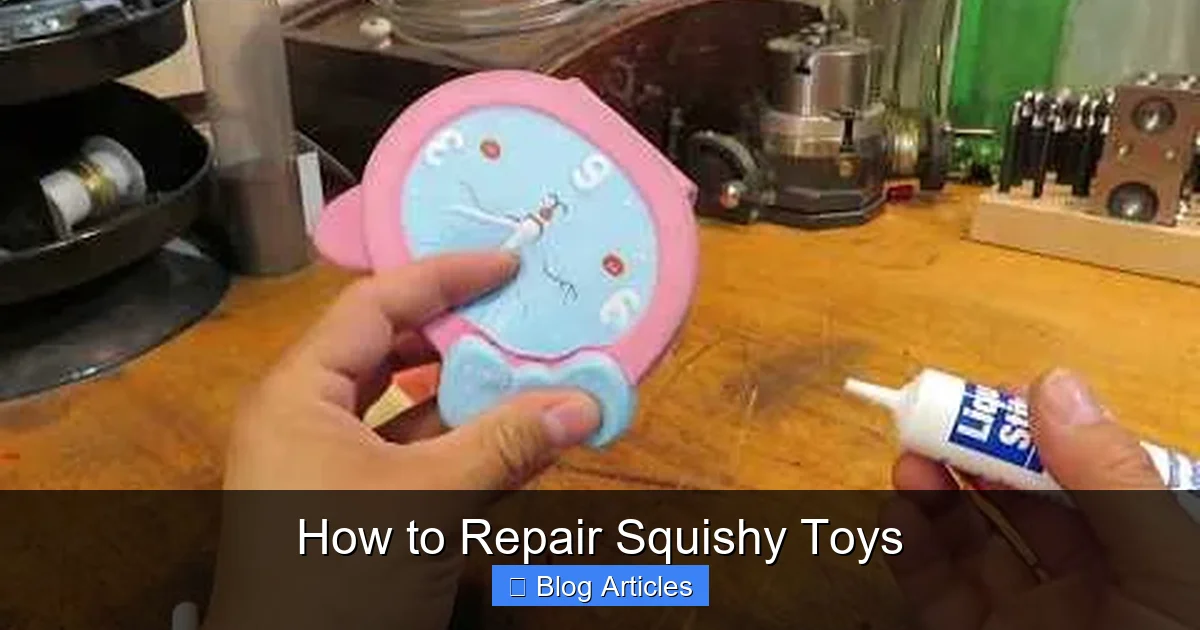
Visual guide about How to Repair Squishy Toys
Image source: i.ytimg.com
What to Buy
Look for fabric glues that dry clear and remain flexible. Brands like Aleene’s Flexible Stretchable Fabric Glue are fantastic because they move with the foam rather than against it. Another great option is a clear silicone sealant. Silicone is naturally soft and elastic, making it an ideal candidate for sealing large tears in squishy toys.
Tools of the Trade
Aside from the glue, grab some toothpicks to help you apply the adhesive into tight crevices. You will also need a small piece of wax paper or parchment paper to prevent your squishy from sticking to your work surface. Finally, keep some rubbing alcohol handy. Cleaning the area around the rip is the secret to a professional-looking repair that actually holds up to daily squeezing.
Step-by-Step Guide: Fixing Minor Rips
Minor rips are the most common issue. These are usually small, surface-level cuts that do not go all the way through the foam. Learning how to repair squishy toys that have minor damage is a quick process that takes only a few minutes of your time.
Step 1: Clean and Prepare
Use a cotton swab dampened with a little rubbing alcohol to gently clean the inside and the edges of the rip. Foam tends to collect dust and skin oils, which prevent glue from sticking. Let the alcohol evaporate completely before moving to the next step. If you apply glue to a dirty surface, the repair will pop open the very first time you squeeze it.
Step 2: Apply the Adhesive
Using a toothpick, apply a very thin layer of your flexible fabric glue to one side of the rip. You do not need a lot—less is more! If you use too much glue, it will ooze out of the sides and create a messy, sticky lump that ruins the aesthetic of your toy. Once the glue is applied, press the edges of the foam together gently. Hold them in place for about 60 seconds.
Step 3: The Curing Process
Place the squishy on your wax paper and leave it alone. This is the hardest part because you will want to test the squish, but resist the urge! Let the toy sit for at least 24 hours. The glue needs this time to fully cure and regain its flexibility. If you squeeze it too early, you risk tearing the fresh bond.
How to Repair Large Tears and Gaps
Sometimes a squishy toy gets a deep tear that leaves a gaping hole. This requires a slightly different approach. Because there is missing or separated material, you cannot just push the sides together. You need a way to fill the void while maintaining the squishy integrity of the toy.
The Patch Method
If the tear is very wide, you might need to use a “patch.” Take a small piece of soft, thin foam (you can cut this from a scrap piece of a ruined squishy) and trim it to fit the gap. Apply your flexible glue to the edges of this tiny patch and tuck it into the hole. Once it is in place, add a thin layer of glue over the top of the seam to seal it completely.
Blending the Repair
After the glue has cured, the area might look a little shiny compared to the matte finish of the rest of the toy. You can lightly dust the area with a little bit of cornstarch to dull the shine. This simple trick makes the repair almost invisible, allowing your squishy to look as good as it did the day you bought it.
Proactive Tips to Extend Toy Life
Knowing how to repair squishy toys is a great skill, but preventing damage is even better. By taking a few extra seconds to treat your toys with care, you can save yourself a lot of repair time later on. It is all about how you handle them.
Avoid the Poke
Teach yourself to squeeze the squishy with your whole hand rather than using just your fingertips. By spreading the pressure out across the entire surface of the toy, you reduce the strain on the foam. This is especially important for slow-rise squishies, which are often made of a softer, more delicate foam that tears more easily.
Storage Best Practices
Where you store your collection matters. Keep them away from direct sunlight, which can dry out the foam and make it crack. If you have a large collection, try to keep them in a bin where they are not being squashed by heavy objects. Stacking them is fine, but make sure they have enough room to breathe. When squishies are cramped together, the edges can rub against each other, leading to premature wear.
Conclusion
Squishy toys bring a lot of joy into our daily lives, serving as colorful, tactile outlets for our stress. While it is frustrating when one of your favorites gets a tear, it is certainly not the end of the world. By following these simple steps, you now know exactly how to repair squishy toys and restore them to their former glory. Whether it is a small crack or a deep rip, your toys can be saved with just a little patience and the right materials.
Remember, the goal of a repair is to restore the function without sacrificing the feel. By using flexible, high-quality glues and allowing proper curing time, you can keep your favorite stress-relief friends in your collection for a long time. So, go ahead and get that repair kit ready, and give your squishies the second life they deserve!
Frequently Asked Questions
Can I use regular super glue to fix my squishy?
No, you should avoid super glue because it hardens as it dries, turning the soft foam into a brittle, hard spot. Always use a flexible fabric glue or a silicone-based adhesive to maintain the toy’s squishiness.
How long should I wait before playing with my repaired toy?
You should wait at least 24 hours for the adhesive to fully cure. Playing with the toy before the glue is set can cause the repair to pull apart, forcing you to start the process all over again.
What can I do if the repair looks shiny?
If your glue repair leaves a shiny spot, you can lightly dust the area with a small amount of cornstarch. This will matte down the finish and help it blend in with the rest of the squishy’s surface.
Is there a way to prevent my squishy from tearing?
The best way to prevent tears is to avoid digging your fingernails into the foam when you squeeze. Use your whole hand to apply pressure, and keep your squishies away from sharp objects and direct heat sources.
Can I wash my squishy after repairing it?
You should avoid washing the repaired area directly. If you must clean the toy, gently wipe it with a damp cloth, but be very careful around the repaired seam to ensure the adhesive does not loosen.
What if the rip is too large to glue back together?
If the rip is too large or pieces of the foam are missing, you can use a small scrap of similar foam as a patch. Glue the patch into the gap, let it cure, and then use a thin layer of flexible glue to seal the edges.