

A clogged leaf blower nozzle can reduce airflow, make the motor work harder, and leave leaves stuck on the ground. In the United States, most clogs come from wet leaves, pine needles, grass, mulch, small twigs, or debris pulled against the intake and pushed into the tube.
To clean the nozzle, shut off the blower, disconnect its power source, remove the nozzle if the manual allows it, and clear the blockage with a soft tool or low-pressure air. Do not reach into the tube while the blower is connected to power, and do not use water inside the motor or control housing.
What You Need Before Cleaning
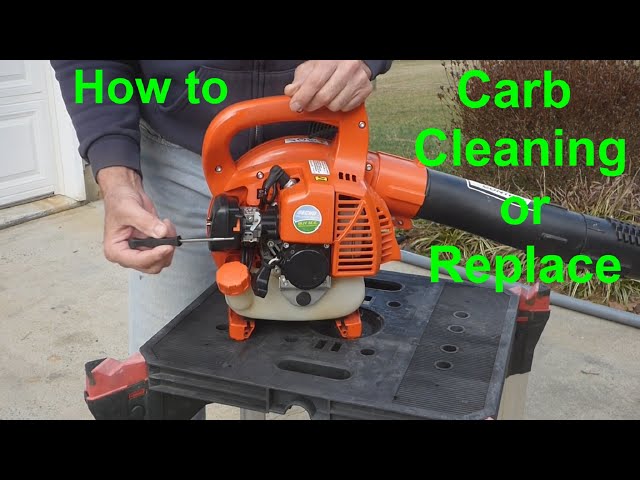
Gather a few simple tools before you start. The exact tools depend on the type of clog and the blower design.
- Owner’s manual
- Work gloves
- Safety glasses
- Flashlight
- Wooden dowel or plastic rod
- Soft nylon brush
- Dry cloth
- Low-pressure compressed air, if available
- Screwdriver, only if the manual calls for one
Use a wooden or plastic tool instead of a metal rod. Metal can scratch the tube, damage the impeller, or pierce a flexible plastic section.
A shop vacuum may help remove loose debris from the tube. Use the vacuum only after the blower is fully disconnected from power.
Identify the blower type
Your first safety step depends on the power source:
- Corded electric blower: Unplug the cord from the outlet. Do not rely only on the trigger switch.
- Battery blower: Turn off the blower and remove the battery pack.
- Gas blower: Turn off the engine, let it cool, and disconnect the spark plug wire if you will work near moving parts or remove a guard.
- Backpack blower: Set it on a stable surface before inspection. Keep the tube away from your body and clothing.
Read the manual before removing a tube, guard, impeller cover, or nozzle. Some parts use locking tabs. Others require screws or a specific removal method.
How to Clean a Clogged Leaf Blower Nozzle
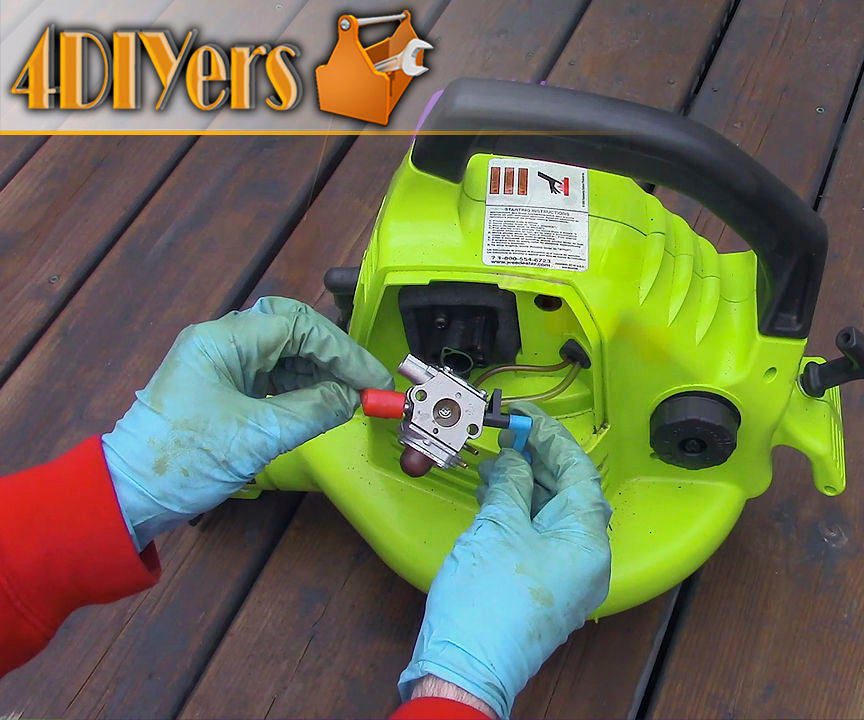
Follow these steps in order. Start with the least force needed to remove the debris.
1. Shut down and isolate the blower
Turn the blower off. Unplug the cord, remove the battery, or allow the gas engine to cool fully.
Place the blower on a level surface. Keep the switch or trigger in the off position. If the blower recently ran, wait until the engine, muffler, and nearby parts are cool to the touch.
2. Inspect the nozzle
Shine a flashlight through the nozzle. Look for:
- Packed wet leaves
- Pine needles
- Grass clippings
- Small sticks
- Mulch
- Gravel
- Insect nests
- Plastic or paper
- Ice in cold weather
Check both ends of the tube. A blockage may sit near the outlet, but it can also be lodged farther inside.
Also inspect the intake screen. If the intake is blocked, the blower may have weak airflow even when the nozzle looks clear.
3. Remove loose debris by hand
Put on gloves and pull out debris that is easy to reach. Do not force your fingers into a narrow tube. Sharp sticks, glass, screws, and hidden metal objects can cause injuries.
If the nozzle has a removable tip, take it off only as the owner’s manual directs. Set screws and clips in a small container so they do not get lost.
4. Loosen packed material
Use a wooden dowel, plastic rod, or soft nylon brush to break apart compacted debris.
Push from the wider end toward the outlet when possible. This direction helps move the material out instead of pushing it deeper into the blower.
Use short, gentle movements. Stop if the tool meets hard resistance. A solid obstruction may be a damaged part rather than ordinary yard debris.
5. Blow or vacuum out the debris
Once the blockage is loose, shake the tube over a trash can. You can then use a shop vacuum or low-pressure compressed air to remove the remaining material.
If using compressed air, wear eye protection and keep the air stream away from your face. Avoid high pressure near seals, bearings, switches, and electrical parts.
Do not blow debris into the motor housing or toward another person.
6. Clean the tube and intake screen
Wipe the inside of the nozzle with a dry cloth attached to a long, flexible handle. Clean the intake screen with a soft brush.
Do not pour water into the tube while it is attached to the blower. Moisture can reach electrical parts or remain trapped inside the housing.
If the manual permits washing a removable plastic tube, remove it first. Let it dry completely before reinstalling it.
7. Inspect for damage
Look for cracks, dents, melted plastic, loose clips, missing screws, or a nozzle that no longer locks in place.
A damaged tube can leak air and lower the blower’s performance. A cracked tube may also break during use and send pieces outward.
Check the impeller only if the manual provides a safe inspection method. Never place your hand near an impeller that can move.
8. Reassemble and test safely
Reinstall the nozzle and any guards. Make sure each part locks firmly.
Reconnect the battery or power cord only after your hands and tools are clear. Start the blower in an open area, away from people, pets, loose clothing, and small objects.
The airflow should sound steady. Stop the blower if you hear scraping, rattling, grinding, or repeated surging.
How to Tell Whether the Clog Is Gone
A clear nozzle usually produces steady airflow and a normal motor sound. The blower should move leaves without needing unusual throttle pressure.
Use these signs as a quick check:
| Symptom after cleaning | What it may mean |
|---|---|
| Strong, steady air | The nozzle is likely clear |
| Weak air but normal sound | Intake screen, filter, or tube may still be blocked |
| Air pulses or surges | Debris may remain, or the motor may have a separate issue |
| Grinding or rattling | Impeller or internal part may be damaged |
| Burning smell | Stop using the blower and inspect it professionally |
| Motor stops under load | Overheating, restricted airflow, battery trouble, or engine trouble may be involved |
| Air leaks around a joint | Tube, gasket, clip, or seal may be damaged |
Do not judge performance only by sound. A blower can run normally while an intake screen or internal passage remains partly blocked.
Test the blower with dry leaves in a clear area. Wet leaves are heavier and can make a working blower seem weak. Avoid testing near gravel, glass, or loose objects that the blower could move.
What to Do If the Nozzle Is Still Clogged
If the blockage remains, stop using the blower and inspect the full air path. A clog may be located in the intake, elbow, tube joint, or impeller area rather than at the nozzle opening.
Check the intake
The intake is the air-entry side of the blower. Remove leaves and grass from the screen with a dry brush.
Never operate a blower with a damaged or missing intake guard. The guard helps prevent objects from reaching moving parts.
Check the tube connection
A bent tube or poorly seated joint can restrict air. Remove and reinstall the tube according to the manual.
Look for debris caught inside a locking collar. Do not pry on plastic tabs with excessive force because they can break.
Check the air filter on gas models
A dirty air filter can reduce engine power. Follow the manual for inspection and cleaning.
Some filters may be washed, while others must remain dry or be replaced. Do not apply oil unless the manufacturer specifies it for that filter type.
Check the battery or fuel system
A weak battery can reduce airflow even when the nozzle is clear. On gas models, stale fuel, a dirty filter, or an engine problem can cause low power.
Do not use fuel additives or repair procedures that are not approved for the specific model.
Stop and seek service when needed
Have the blower inspected by a qualified repair technician if:
- The impeller is cracked or bent
- The motor makes a grinding sound
- The housing is melted
- The cord or battery connector is damaged
- The blower overheats quickly
- The engine will not run correctly after clearing the tube
- The blockage appears to be inside a sealed motor housing
Do not bypass a guard, thermal switch, or safety feature to restore airflow.
Common Mistakes to Avoid
The most common cleaning mistakes can turn a simple clog into an injury or repair problem.
Do not clean while connected to power
A trigger can be pressed by accident. A battery can also remain active even when the blower appears to be off.
Disconnect the power source before inspection or cleaning.
Do not use a knife or screwdriver as a scraper
Sharp tools can damage the plastic tube and create loose fragments. They can also slip and injure your hand.
Use a blunt wooden or plastic tool instead.
Do not spray water into the blower
Water can damage switches, wiring, bearings, and motor parts. It can also make leaves and mulch swell inside the tube.
Clean removable parts separately and dry them fully before use.
Do not force a solid object
A hard object may be a broken impeller blade, stone, screw, or other internal part. Forcing it can push the object into the motor or crack the housing.
Stop and inspect the manual or arrange professional service.
Do not ignore wet debris
Wet leaves are heavier and tend to form a dense plug. Clear wet material before it dries and hardens inside the tube.
For prevention, avoid using a blower on soaked piles when possible.
Do not run the blower without its tube or guard
Some blowers use the tube and housing as part of their airflow design. Removing parts can expose moving components or change how debris travels.
Use the exact configuration approved by the manufacturer.

How to Prevent Future Nozzle Clogs
Prevention starts with the material you collect. Keep the nozzle away from gravel, standing water, mud, and large sticks.
Use these habits:
- Clear large branches before blowing leaves.
- Let wet leaves dry when practical.
- Keep the intake screen free of grass and mulch.
- Empty debris from the work area before starting.
- Store the blower in a dry place.
- Inspect the tube after each long job.
- Clean the tube before storing the blower for the season.
- Keep a soft brush with the blower.
- Replace cracked tubes and broken clips promptly.
On gas blowers, follow the owner’s manual for air-filter service, fuel storage, and seasonal care. On battery models, store the battery as the battery maker directs and keep contacts clean and dry.
A short inspection after each use can prevent a hard, compacted clog later.

When Should You Replace the Nozzle?
Clean the nozzle when debris blocks airflow but the tube remains sound. Replace it when cleaning cannot correct a physical problem.
Replacement is usually the better choice when the nozzle has:
- A long crack
- A crushed or sharply bent section
- A melted area
- Broken locking tabs
- A loose connection that will not stay attached
- Severe wear near the outlet
- A shape that no longer matches the blower housing
Use the model number to find the correct replacement. A tube that fits loosely may leak air or detach during operation.
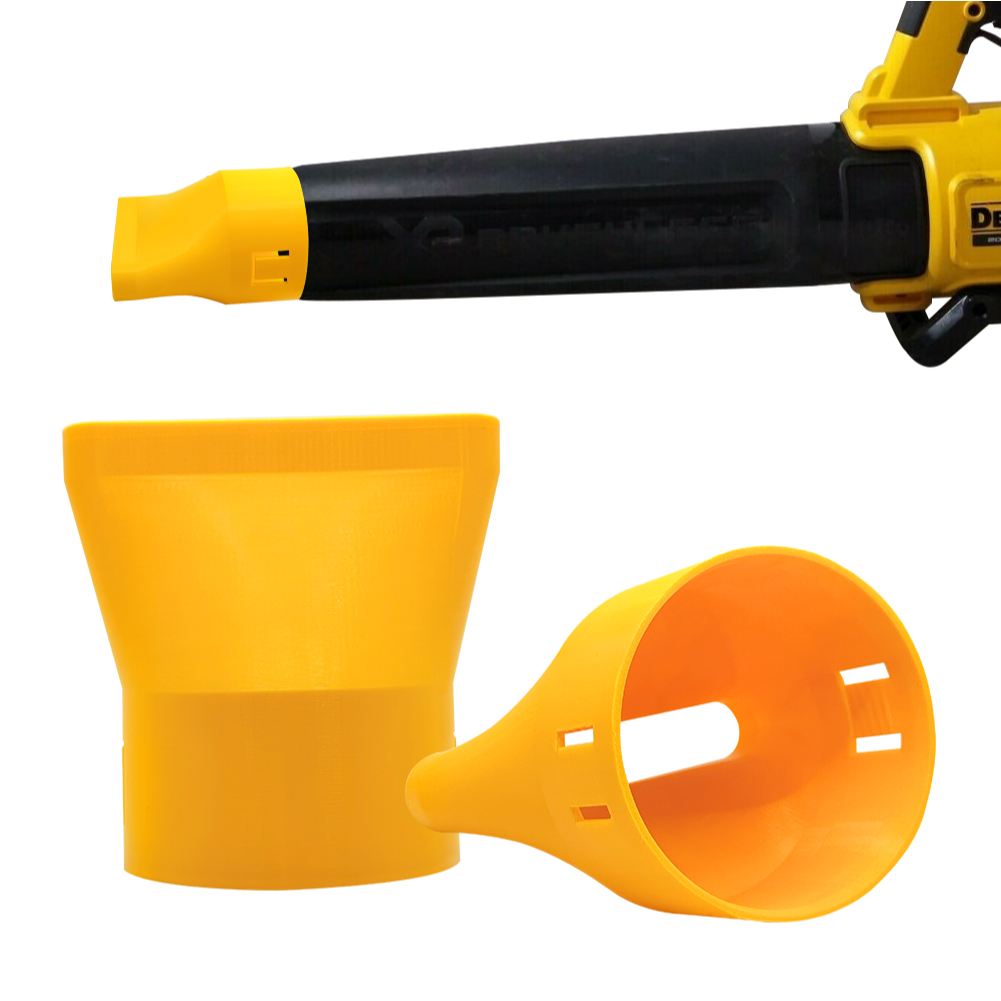
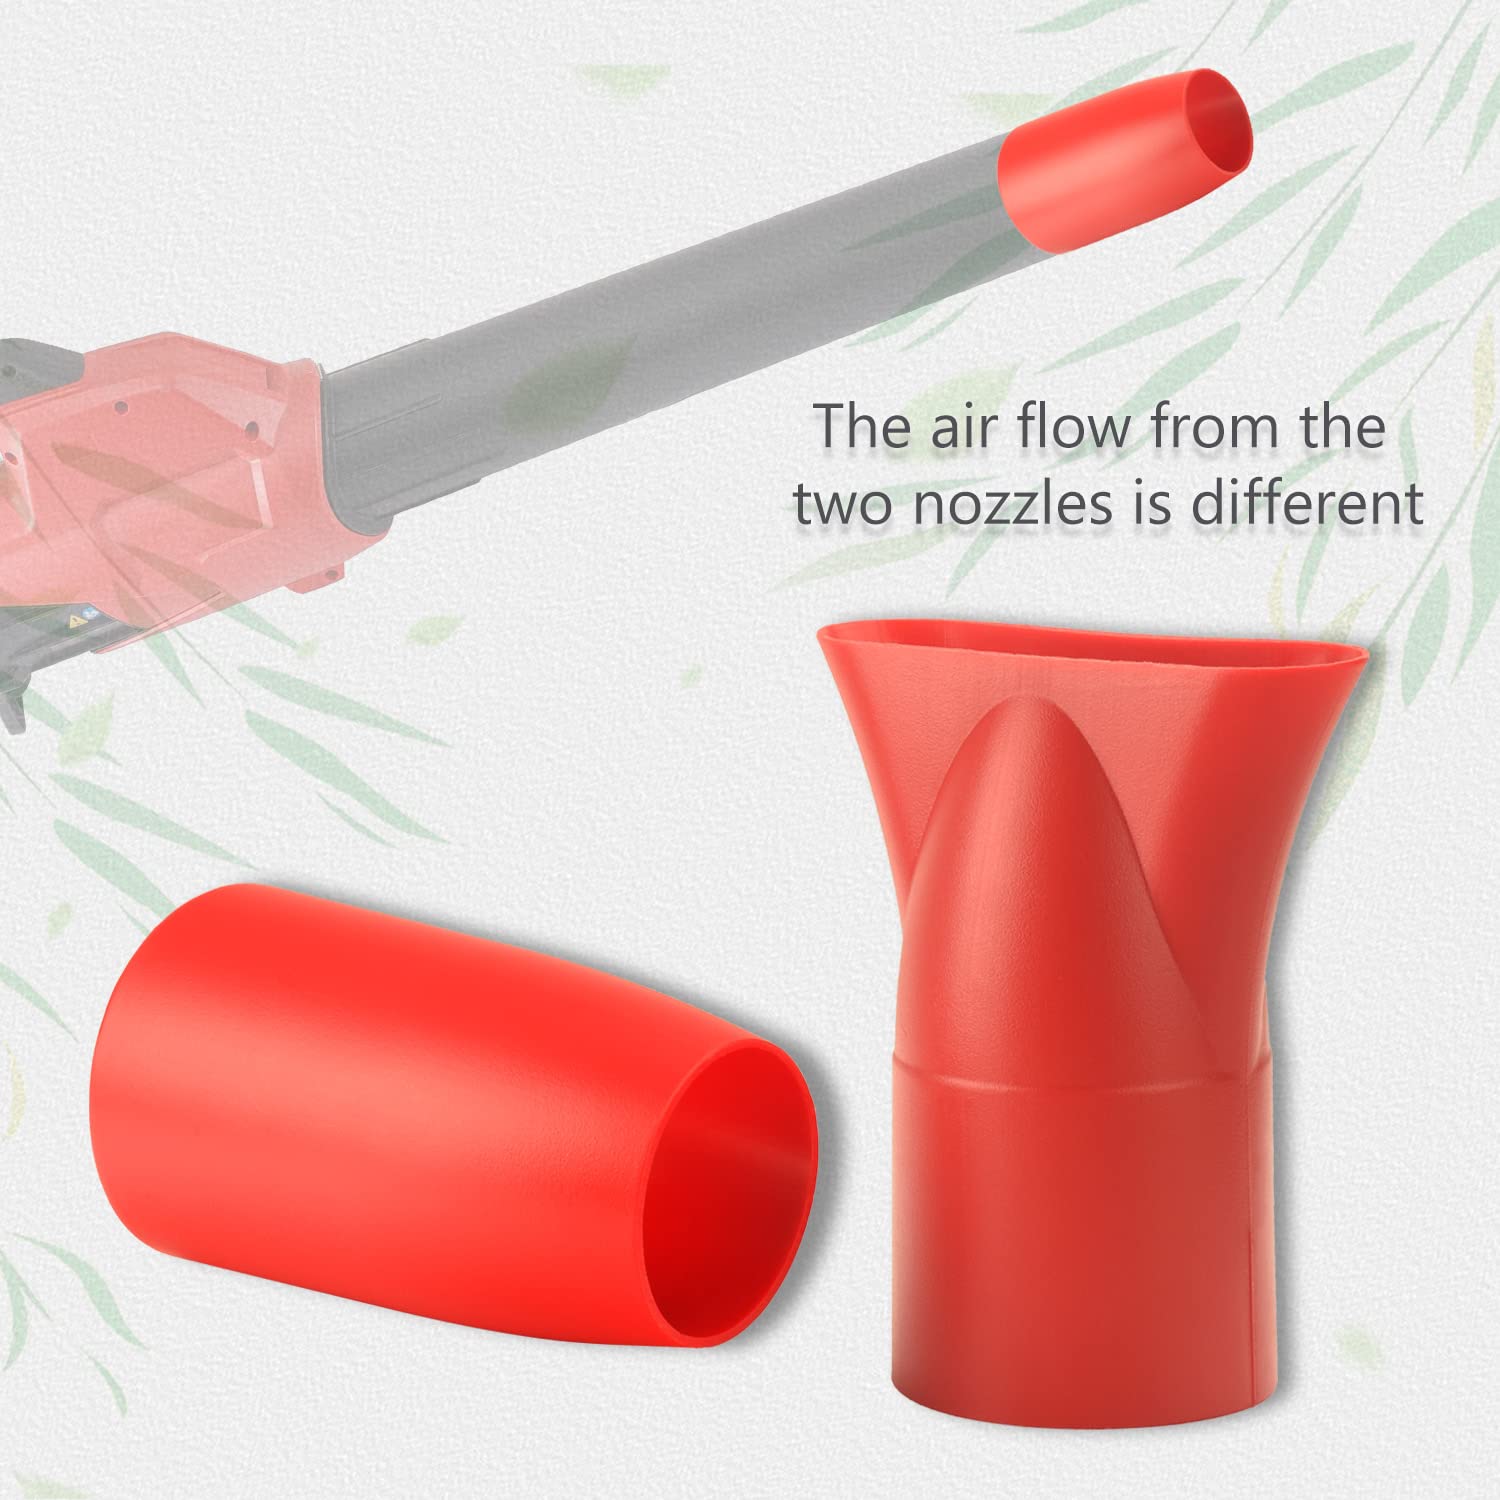
Do not assume that nozzles from different brands or models are interchangeable. Even similar-looking tubes may have different locking systems, diameters, or airflow paths.

Frequently Asked Questions
Can I use a coat hanger to unclog a leaf blower nozzle?
It is better not to. A metal coat hanger can scratch the tube, damage the impeller, or break into a sharp piece. Use a wooden dowel or plastic rod with rounded edges instead.
Can I wash a leaf blower nozzle?
You may wash a removable plastic nozzle only if the owner’s manual permits it. Remove it from the blower, use mild soap if approved, and let it dry fully before reconnecting it.
Never wash the motor housing or spray water into the blower.
Why does my leaf blower have weak airflow after I clear the nozzle?
The intake screen, air filter, tube joint, or impeller may still be blocked. A weak battery, dirty fuel system, engine problem, or damaged tube can also reduce airflow.
Inspect the air path from the intake to the nozzle. Stop using the blower if it overheats or makes an abnormal sound.
Can I use compressed air to clean the tube?
Yes, low-pressure compressed air can remove loose debris from a disconnected tube. Wear safety glasses and direct the debris away from your face.
Avoid high pressure near electrical parts, seals, bearings, and switches.
Why does my blower clog with wet leaves?
Wet leaves stick together and form a dense plug. They are also heavier than dry leaves, so the blower may struggle to move them.
Let the leaves dry when practical, break up large piles, and clear the intake screen often.
Should I take the blower apart to remove a clog?
Only remove parts covered by the owner’s manual. Do not open a sealed motor housing or remove an impeller guard unless you understand the procedure and the power source is fully disconnected.
Use a repair shop when the clog is internal or the impeller appears damaged.
Final Takeaway
To clean a clogged leaf blower nozzle, disconnect the power, inspect both ends, remove loose debris, loosen packed material with a blunt plastic or wooden tool, and clear the tube with a brush, vacuum, or low-pressure air. Check the intake and air filter before testing the blower.
If airflow remains weak or the blower makes a grinding, rattling, or burning sound, stop using it. The problem may involve the impeller, motor, battery, fuel system, or a damaged tube rather than a simple nozzle clog.
Your next step is simple: unplug the blower or remove its battery, shine a light through the nozzle, and begin with the least force needed to remove the obstruction.