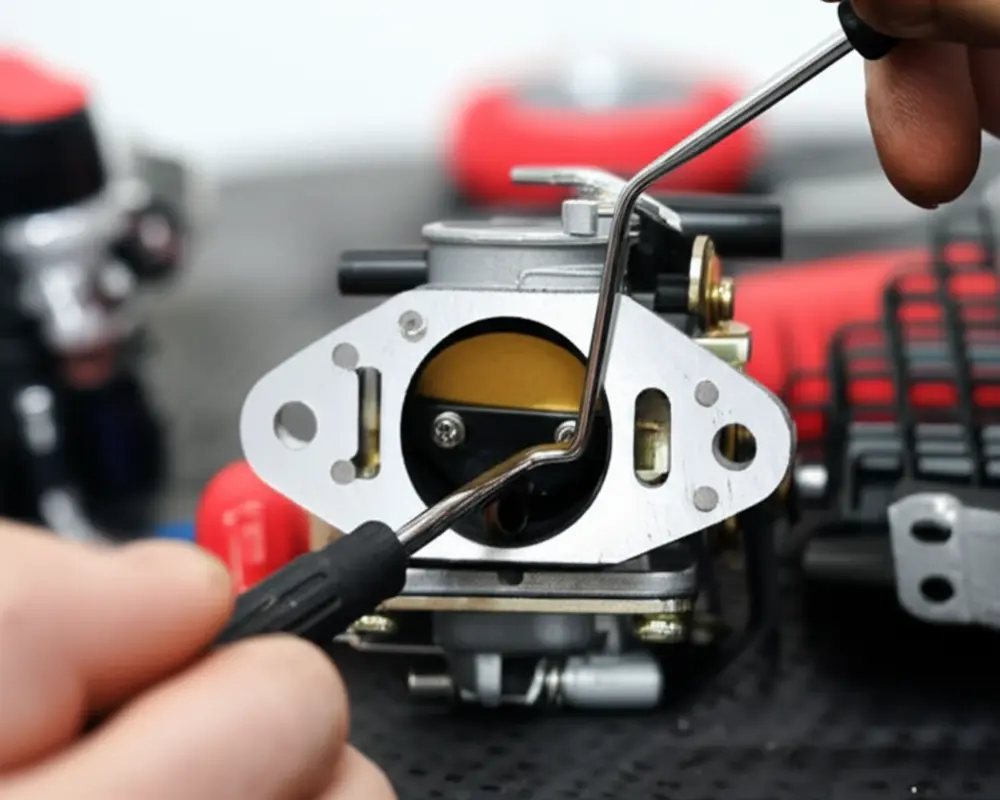
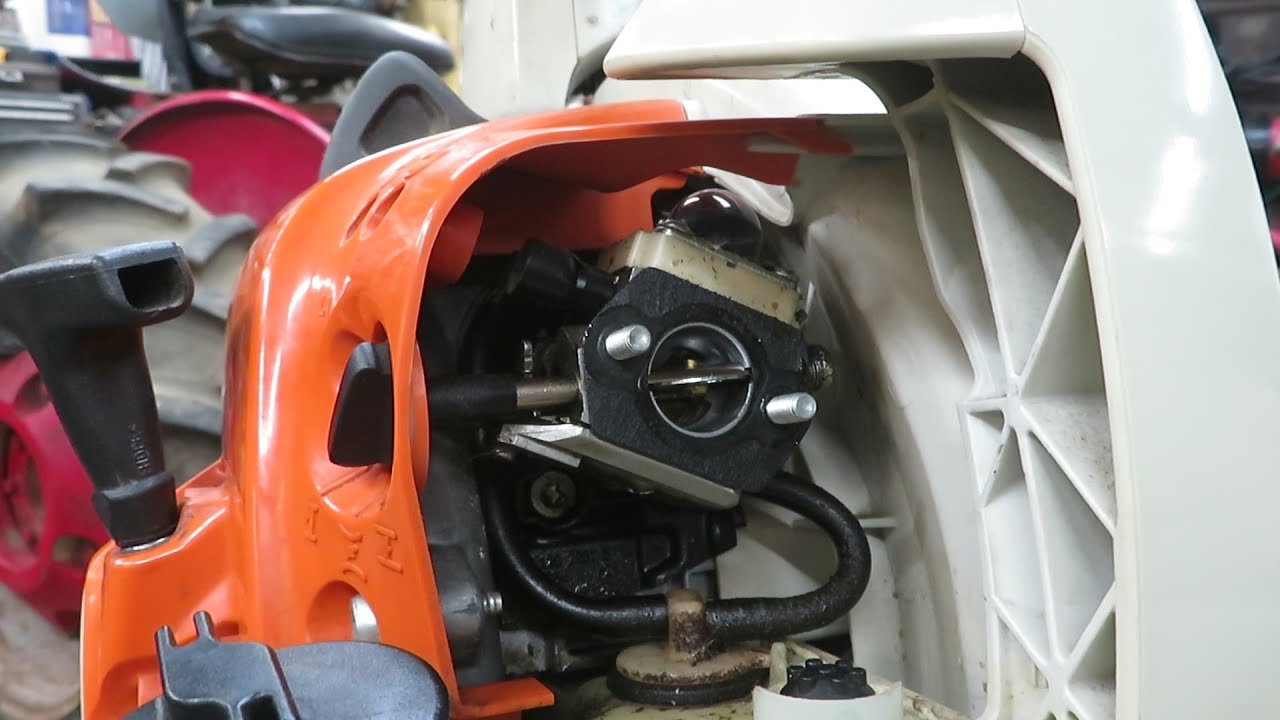
A dirty carburetor can make a gas-powered leaf blower hard to start, weak, or unable to stay running. In the United States, most handheld and backpack leaf blowers use a small gasoline engine with a diaphragm-style carburetor. You can often clean it at home with basic tools, but the exact parts and settings vary by model.
To clean a leaf blower carburetor, remove the air filter and carburetor cover, drain the fuel, spray the carburetor with an approved cleaner, clear the small fuel passages with air, and inspect the diaphragm and gaskets. Reassemble the parts in the correct order, install fresh fuel, and test the blower outdoors.
Before You Clean the Carburetor
Confirm that your leaf blower has a gasoline engine. Battery-powered and corded electric blowers do not have carburetors and need a different type of repair.
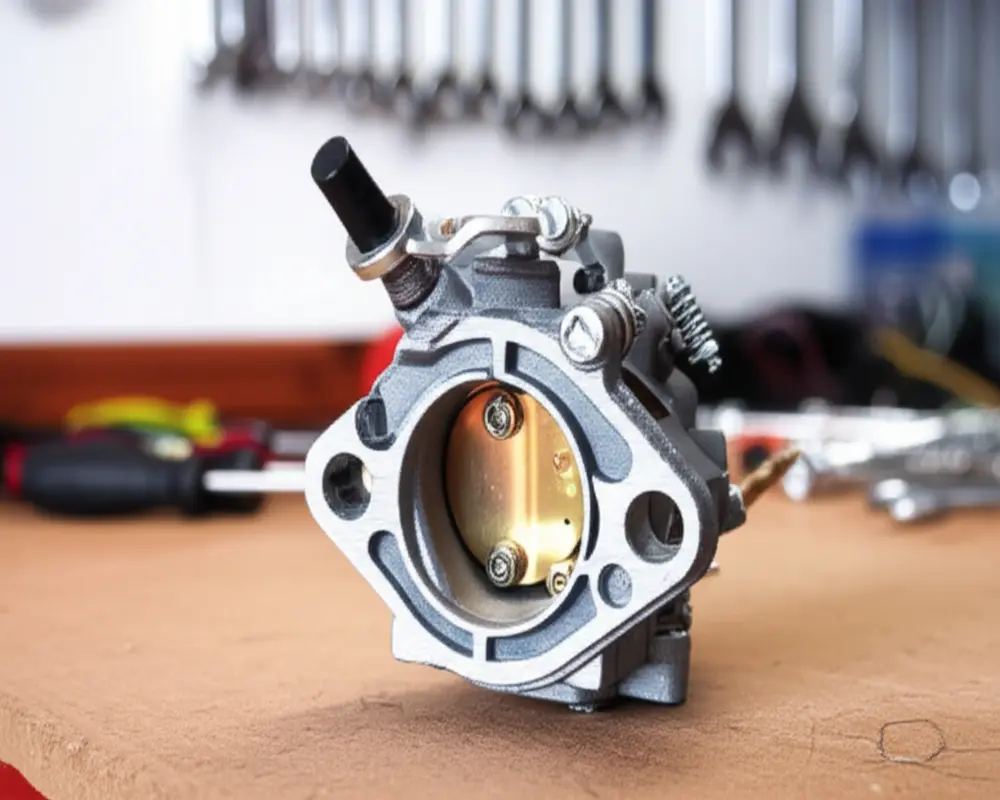
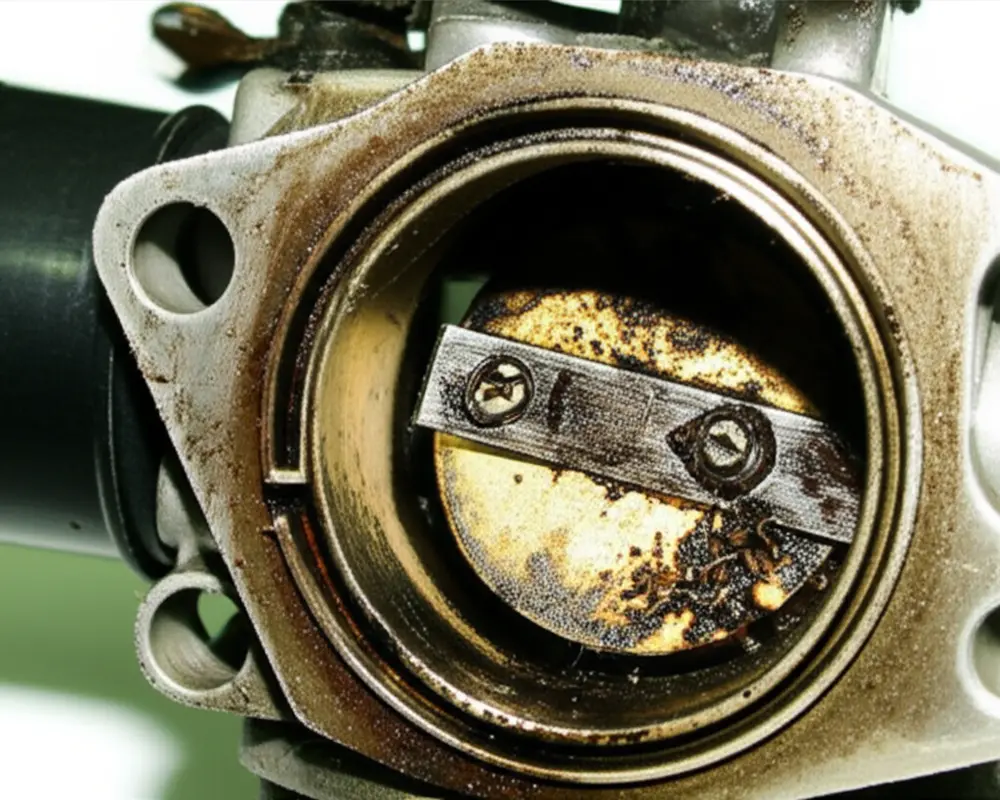
A carburetor mixes fuel with air before the mixture enters the engine. If old fuel dries inside the carburetor, it can leave a sticky varnish. Dirt, dust, and clogged fuel passages can then limit fuel flow.
Signs of a dirty carburetor
A carburetor may need cleaning when the blower:
- Will not start after several pulls
- Starts only when you use the choke
- Starts and then dies
- Runs for a few seconds and stops
- Surges or hunts at idle
- Has poor power at full throttle
- Leaks fuel near the carburetor
- Needs repeated primer-bulb presses to keep running
These symptoms can also come from a bad spark plug, blocked fuel filter, cracked fuel line, damaged primer bulb, restricted muffler, or incorrect carburetor adjustment. Cleaning the carburetor is useful, but it is not the answer to every starting problem.
Check the owner’s manual first
Find the model number on the blower housing and read the manual before removing parts. The manual may show:
- The correct fuel mixture
- Carburetor screw limits
- Fuel-line routing
- Gasket and diaphragm order
- Filter locations
- Torque requirements
- Special starting procedures
Do not change high- and low-speed adjustment screws unless the manual permits it. Some modern blowers use limiter caps or preset adjustments. Removing those limits can cause poor operation or engine damage.
Tools and Supplies You Need
Gather all supplies before taking the carburetor apart. Small engine parts are easy to lose, and a clean work area helps prevent dirt from entering the engine.
You will usually need:
- Phillips and flat-head screwdrivers
- Nut drivers or small socket set
- Needle-nose pliers
- Carburetor cleaner labeled for small engines
- Compressed air
- Clean shop towels
- Small container for screws and fuel
- Fresh fuel mixed at the ratio listed in the manual
- New air filter, if the old one is dirty
- New carburetor gasket and diaphragm kit, if needed
- Safety glasses
- Chemical-resistant gloves
- A clean workbench
Use a small tray or take photos during disassembly. A photo can help you restore fuel lines, gaskets, and linkages to their original positions.
Choose the right cleaner
Use a commercial aerosol carburetor cleaner that is suitable for small-engine parts. Do not use gasoline as a cleaning solvent. Gasoline is highly flammable and leaves a combustible vapor.
Avoid soaking rubber diaphragms, plastic parts, primer bulbs, and fuel lines in strong solvent. Carburetor cleaner can make these parts swell, harden, or crack.
How to Clean a Leaf Blower Carburetor Step by Step
The safest method is to begin with external cleaning and move inward only as needed. You may not need to remove the carburetor from the engine if the blockage is light.
1. Move the blower to a safe work area
Work outdoors or in a well-ventilated space away from flames, heaters, pilot lights, cigarettes, and sparks. Keep fuel and cleaner away from children and pets.
Wear safety glasses and gloves. Carburetor cleaner can irritate skin and eyes, and compressed air can blow dirt or solvent back toward your face.
Let the engine cool completely before you begin.
2. Disconnect the spark plug wire
Pull the spark plug boot off the spark plug. This helps prevent accidental starting while you work.
Do not pull on the wire itself. Grip the boot. If the blower has an ignition switch, turn it off as well, but do not rely on the switch alone.
3. Drain the fuel tank
Place an approved fuel container below the tank or fuel line. Drain the fuel according to the owner’s manual.
If the fuel is more than a few months old, smells sour, or contains visible debris, do not reuse it in the blower. Store or dispose of gasoline according to local rules. Never pour gasoline onto soil, into a drain, or into household trash.
If the tank is nearly empty, you may be able to run the engine until it stops. Do this only outdoors and only when the blower is in safe working order.
4. Remove the air filter cover and air filter
Remove the screws or clips that hold the air filter cover. Take out the filter and set it aside.
Inspect the filter:
- Foam filters may be washable if the manual allows it.
- Paper filters should usually be replaced when dirty.
- A fuel-soaked filter should be replaced unless the manual gives another procedure.
A blocked air filter can create symptoms that look like a carburetor problem. Clean or replace it before testing the blower.
5. Take photos before disconnecting parts
Before removing the carburetor, photograph:
- Fuel-line connections
- Primer-bulb lines
- Throttle linkage
- Choke linkage
- Gasket positions
- The side facing the engine
- The side facing the air filter
Small carburetors often use similar-looking parts with different functions. A photo reduces the risk of incorrect reassembly.
6. Remove the carburetor if external cleaning is not enough
Some carburetors can be cleaned while attached. Others need to come off the engine to reach the metering chamber and fuel passages.
Remove the mounting screws or nuts. Carefully disconnect the fuel lines and linkages. Plug or pinch the fuel line only with a method that will not damage it.
Place the carburetor on a clean towel. Keep the intake opening covered so dirt cannot enter the engine.
7. Clean the outside of the carburetor
Spray carburetor cleaner onto a towel or brush for the outside surfaces first. Wipe away grass dust, oil, and dirt.
Do not spray a large amount of cleaner directly into the engine intake. Solvent can remove lubricating oil from areas where it is needed.
Use a soft brush to clean around:
- The throttle shaft
- Choke shaft
- Primer connections
- Fuel inlet
- Bowl or metering-cover area
- Air intake opening
8. Open the metering cover or bowl
Leaf blower carburetors commonly use a diaphragm-style metering chamber. Some other small engines use a bowl-style carburetor.
Remove the cover screws and lift the cover carefully. Keep the screws in order if they have different lengths.
For a diaphragm carburetor, note the layer order before removal. A typical assembly may include:
- Carburetor body
- Gasket
- Diaphragm
- Cover
The exact order can differ by model. Follow the manual or match the original parts precisely.
For a bowl-style carburetor, remove the bowl and inspect the float, needle, and seat. Do not bend the float tab unless the service manual gives a specific adjustment procedure.
9. Inspect the diaphragm, gasket, and needle
A diaphragm should be flexible and flat. Replace it if it is:
- Stiff
- Cracked
- Torn
- Wavy
- Swollen
- Permanently curled
- Stuck to the gasket
Replace a gasket that is torn, compressed, brittle, or stuck to the mating surface.
In a bowl-style carburetor, check the float needle for a worn tip. A damaged needle can cause fuel leakage or flooding. If the carburetor has a small rubber-tipped needle, avoid scratching the tip.
Cleaning may not restore a damaged diaphragm or needle. A low-cost rebuild kit is often the proper repair.
10. Spray the fuel passages and openings
Spray carburetor cleaner into the visible fuel and air passages. Let the cleaner dissolve residue for the time stated on the product label.
Use a soft nylon brush where needed. Do not use a steel wire, drill bit, or needle to enlarge a jet or passage. Even a small change in the opening can alter the fuel mixture.
For a removable metal jet, take it out only if the manual or carburetor design allows it. Hold it toward a light to check whether the opening is clear.
11. Blow out the passages with compressed air
Use short bursts of compressed air to clear loosened dirt and solvent. Direct the air away from your face and away from delicate diaphragms.
Do not use high pressure close to rubber parts. Excessive pressure can damage a diaphragm, dislodge a small check valve, or force dirt deeper into a passage.
If you do not have compressed air, allow the cleaner to drain and use the spray nozzle carefully. Do not replace compressed air with a sharp object.
12. Clean the carburetor screen
Many small-engine carburetors have a fine inlet screen. It may be hidden behind a fuel fitting or inside the metering chamber.
If the screen is accessible, clean it with carburetor cleaner and low-pressure air. Replace it if it is torn or badly clogged.
Do not remove a pressed-in screen unless replacement parts and the correct service method are available.
13. Check the fuel lines and filter
A clean carburetor will not work well if fuel cannot reach it.
Replace fuel lines that are:
- Hard
- Cracked
- Soft or swollen
- Kinked
- Loose at the fittings
- Coated with residue inside
Inspect the in-tank fuel filter. Replace it if it is dirty or restricted. Use fuel line and filters made for small gasoline engines, not ordinary household tubing.
14. Reassemble the carburetor
Install the parts in the same order in which they were removed. Make sure:
- The diaphragm lies flat
- The gasket is on the correct side
- The metering cover sits evenly
- The fuel lines are on the correct fittings
- Linkages move freely
- No cleaner remains pooled inside
- Screws are snug but not overtightened
Overtightening small screws can strip the carburetor body or distort the cover.
15. Reinstall the carburetor and air filter
Mount the carburetor against the engine with the correct gasket. Reconnect the throttle and choke linkages exactly as shown in your photos or manual.
Reconnect the fuel lines. Install the air filter and cover.
A missing or misaligned gasket can create an air leak. An air leak can cause a lean mixture, hard starting, surging, or an engine that runs too hot.
16. Add fresh, correct fuel
Use fresh fuel with the oil-to-gas ratio listed in the manual. Many two-stroke blowers require pre-mixed gasoline and two-stroke oil, but the ratio is not universal.
Do not guess the ratio. A wrong mixture can cause smoke, poor power, spark-plug fouling, piston damage, or inadequate lubrication.
Use fuel that is suitable for the blower and avoid storing mixed fuel for longer than the fuel or engine manufacturer recommends.
17. Test the blower outdoors
Reconnect the spark plug wire. Move the blower to an open outdoor area.
Use the normal starting procedure:
- Set the switch to the run position.
- Press the primer bulb the number of times listed in the manual.
- Set the choke as directed.
- Pull the starter cord.
- Reduce the choke as the engine warms.
Let the blower idle briefly. Then test the throttle in short intervals.
A successful cleaning usually produces easier starting, a steady idle, smooth acceleration, and normal power. Stop the test if you smell a strong fuel odor, see fuel leaking, hear unusual knocking, or notice heavy smoke.
When Cleaning the Carburetor Does Not Fix the Problem
If the blower still will not run, check the next most likely causes in a safe order.
| Symptom | Possible cause | Next check |
|---|---|---|
| No response when pulling the starter | No spark, seized engine, flooded engine | Inspect spark plug and ignition |
| Starts only with choke | Air leak, restricted fuel passage, lean mixture | Check gaskets, fuel lines, and intake |
| Starts and dies | Blocked fuel filter, blocked vent, bad diaphragm | Check fuel delivery and diaphragm |
| Runs but has weak power | Dirty air filter, muffler restriction, fuel problem | Check filter, exhaust, and fresh fuel |
| Fuel leaks | Stuck needle, damaged gasket, loose fuel line | Inspect the metering or float system |
| Surges at idle | Air leak, incorrect adjustment, restricted fuel flow | Check intake gasket and carburetor settings |
| Primer bulb will not fill | Cracked bulb, wrong fuel-line routing, blocked filter | Inspect bulb, lines, and tank filter |
Check the spark plug
Remove and inspect the spark plug after the blower cools. A wet plug may indicate flooding. A heavily carbon-coated plug may point to an overly rich mixture or an oil-related problem.
Use the plug type and gap listed in the owner’s manual. Do not assume that every small-engine plug uses the same gap.
Check for an air leak
An intake gasket, carburetor gasket, or crankcase seal can allow extra air into the engine. This changes the fuel mixture and may cause a high idle or surging.
Do not spray flammable liquid around a running engine to search for leaks. That method creates a fire hazard. Replace suspect gaskets or ask a qualified small-engine technician to test the intake system.
Check the muffler and spark-arrestor screen
A blocked spark-arrestor screen can reduce engine power and prevent the blower from revving properly. Let the engine cool before inspecting it.
Clean or replace the screen according to the manual. Do not operate the blower without required safety or emissions equipment.
Check the carburetor adjustment
If the blower runs but does not respond correctly, the adjustment may be wrong. Turn adjustment screws only when the manual provides a procedure.
Some carburetors require a tachometer or special tool. If the adjustment is limited by caps or factory settings, professional service may be safer than forcing the screws.

Cleaning Versus Rebuilding or Replacing the Carburetor
Cleaning is suitable when dirt or stale-fuel residue is the main problem and the moving parts remain in good condition.
A rebuild kit may be better when the diaphragm, gasket, needle, or screen is damaged. A kit normally contains model-specific parts, so match the carburetor number rather than buying only by blower brand.
Replacing the carburetor can make sense when:
- The body is cracked
- Threads are stripped
- The throttle shaft is badly worn
- Several internal parts are damaged
- The correct rebuild parts are unavailable
- Cleaning has failed and labor would cost more than the assembly
Use the carburetor model or part number when ordering. Two blowers from the same brand may use different carburetors.
Common Mistakes to Avoid
Using old fuel after cleaning
Old fuel can quickly recontaminate a clean carburetor. Drain questionable fuel and use the fuel type specified by the manufacturer.
Mixing up the diaphragm and gasket
This is one of the most common assembly errors. The wrong order can block the metering action or create an air leak.
Poking jets with metal wire
A wire can enlarge a calibrated opening. That may permanently change the fuel mixture.
Spraying cleaner on rubber parts
Solvent can damage diaphragms, primer bulbs, and fuel lines. Clean metal passages, but replace damaged flexible parts.
Forgetting the fuel filter
A dirty tank filter can make a clean carburetor appear defective. Check the full fuel path from tank to carburetor.
Adjusting screws without a baseline
Turning adjustment screws without recording their original position can make troubleshooting harder. Some screws also have factory limits.
Testing indoors
Gasoline vapors and engine exhaust are dangerous. Always test a gasoline blower outside, away from doors, windows, and ignition sources.

How to Prevent Carburetor Problems
Good fuel care reduces the need for repeated carburetor cleaning.
- Use fresh fuel and the correct oil mixture.
- Keep the fuel container sealed.
- Do not leave untreated fuel in the blower during long storage.
- Follow the owner’s manual for storage treatment.
- Run the engine after adding storage fuel if the manual directs you to do so.
- Replace a dirty air filter.
- Keep grass and dust away from the air intake.
- Inspect fuel lines at the start of the season.
- Do not store the blower with a leaking fuel cap or damaged fuel line.
- Drain fuel safely when the manual recommends it.
Fuel stabilizer may help when used as directed, but it cannot restore fuel that has already turned to varnish. It also does not repair a damaged diaphragm or clogged filter.

When to Use a Repair Shop
Stop and seek qualified small-engine service when the blower has a fuel leak, a cracked fuel tank, a damaged crankcase, a seized engine, or repeated ignition problems.
Professional help is also appropriate when the carburetor requires special adjustment equipment or when you cannot identify the correct gasket and diaphragm order.
Do not continue operating a blower that leaks fuel or runs at an uncontrolled high speed. Those conditions can create a fire hazard or cause serious engine damage.
Key Takeaways
- A dirty carburetor can cause hard starting, stalling, surging, and weak power.
- Drain old fuel and disconnect the spark plug before cleaning.
- Use small-engine carburetor cleaner, soft brushes, and controlled compressed air.
- Do not use metal tools to clear jets.
- Keep cleaner away from rubber diaphragms, primer bulbs, and fuel lines.
- Replace damaged diaphragms, gaskets, filters, and fuel lines.
- Follow the model-specific manual for fuel ratios and carburetor adjustments.
- Test the blower outdoors and stop if fuel leaks or the engine runs dangerously fast.
Frequently Asked Questions
Can I clean a leaf blower carburetor without removing it?
Yes, light dirt can sometimes be removed by cleaning the air intake, fuel inlet, and external passages while the carburetor remains installed. If stale fuel has blocked the metering chamber or jet, removal may be necessary.
Should I use brake cleaner instead of carburetor cleaner?
Use a product labeled for carburetors and small-engine parts. Brake cleaner may be too harsh for some plastic and rubber components, and its formula varies by product.
How often should I clean a leaf blower carburetor?
There is no fixed interval. Clean it when symptoms appear or when inspection finds contamination. Proper fuel storage and a clean air filter usually reduce how often deep cleaning is needed.
Why does my leaf blower run only with the choke on?
That often indicates a lean fuel mixture caused by a blocked fuel passage, restricted filter, damaged diaphragm, air leak, or incorrect adjustment. Check fuel delivery and gaskets before changing adjustment screws.
Can a carburetor cleaner fix a bad diaphragm?
No. Cleaner can remove residue, but it cannot restore a diaphragm that is cracked, stiff, stretched, or swollen. Replace the diaphragm with the correct model-specific part.
How long can mixed two-stroke fuel be stored?
The safe storage period depends on the fuel, oil, stabilizer, container, temperature, and manufacturer instructions. Follow the fuel and blower manuals rather than relying on a universal number.
Final Recommendation
Start with the simple checks: fresh fuel, a clean air filter, a clear fuel filter, and a working spark plug. If those parts are sound, clean the carburetor carefully and preserve the original gasket and diaphragm order. When cleaning does not restore normal operation, replace damaged parts or have a qualified small-engine technician diagnose the blower instead of making uncontrolled carburetor adjustments.
Model-Specific References
For exact fuel ratios, disassembly diagrams, adjustment limits, and storage instructions, use the official manual for the blower’s model and engine. Manufacturer support pages from brands such as STIHL, Husqvarna, ECHO, Toro, and Craftsman provide model-specific manuals and parts information. The manual for the exact model takes priority over general cleaning advice.