
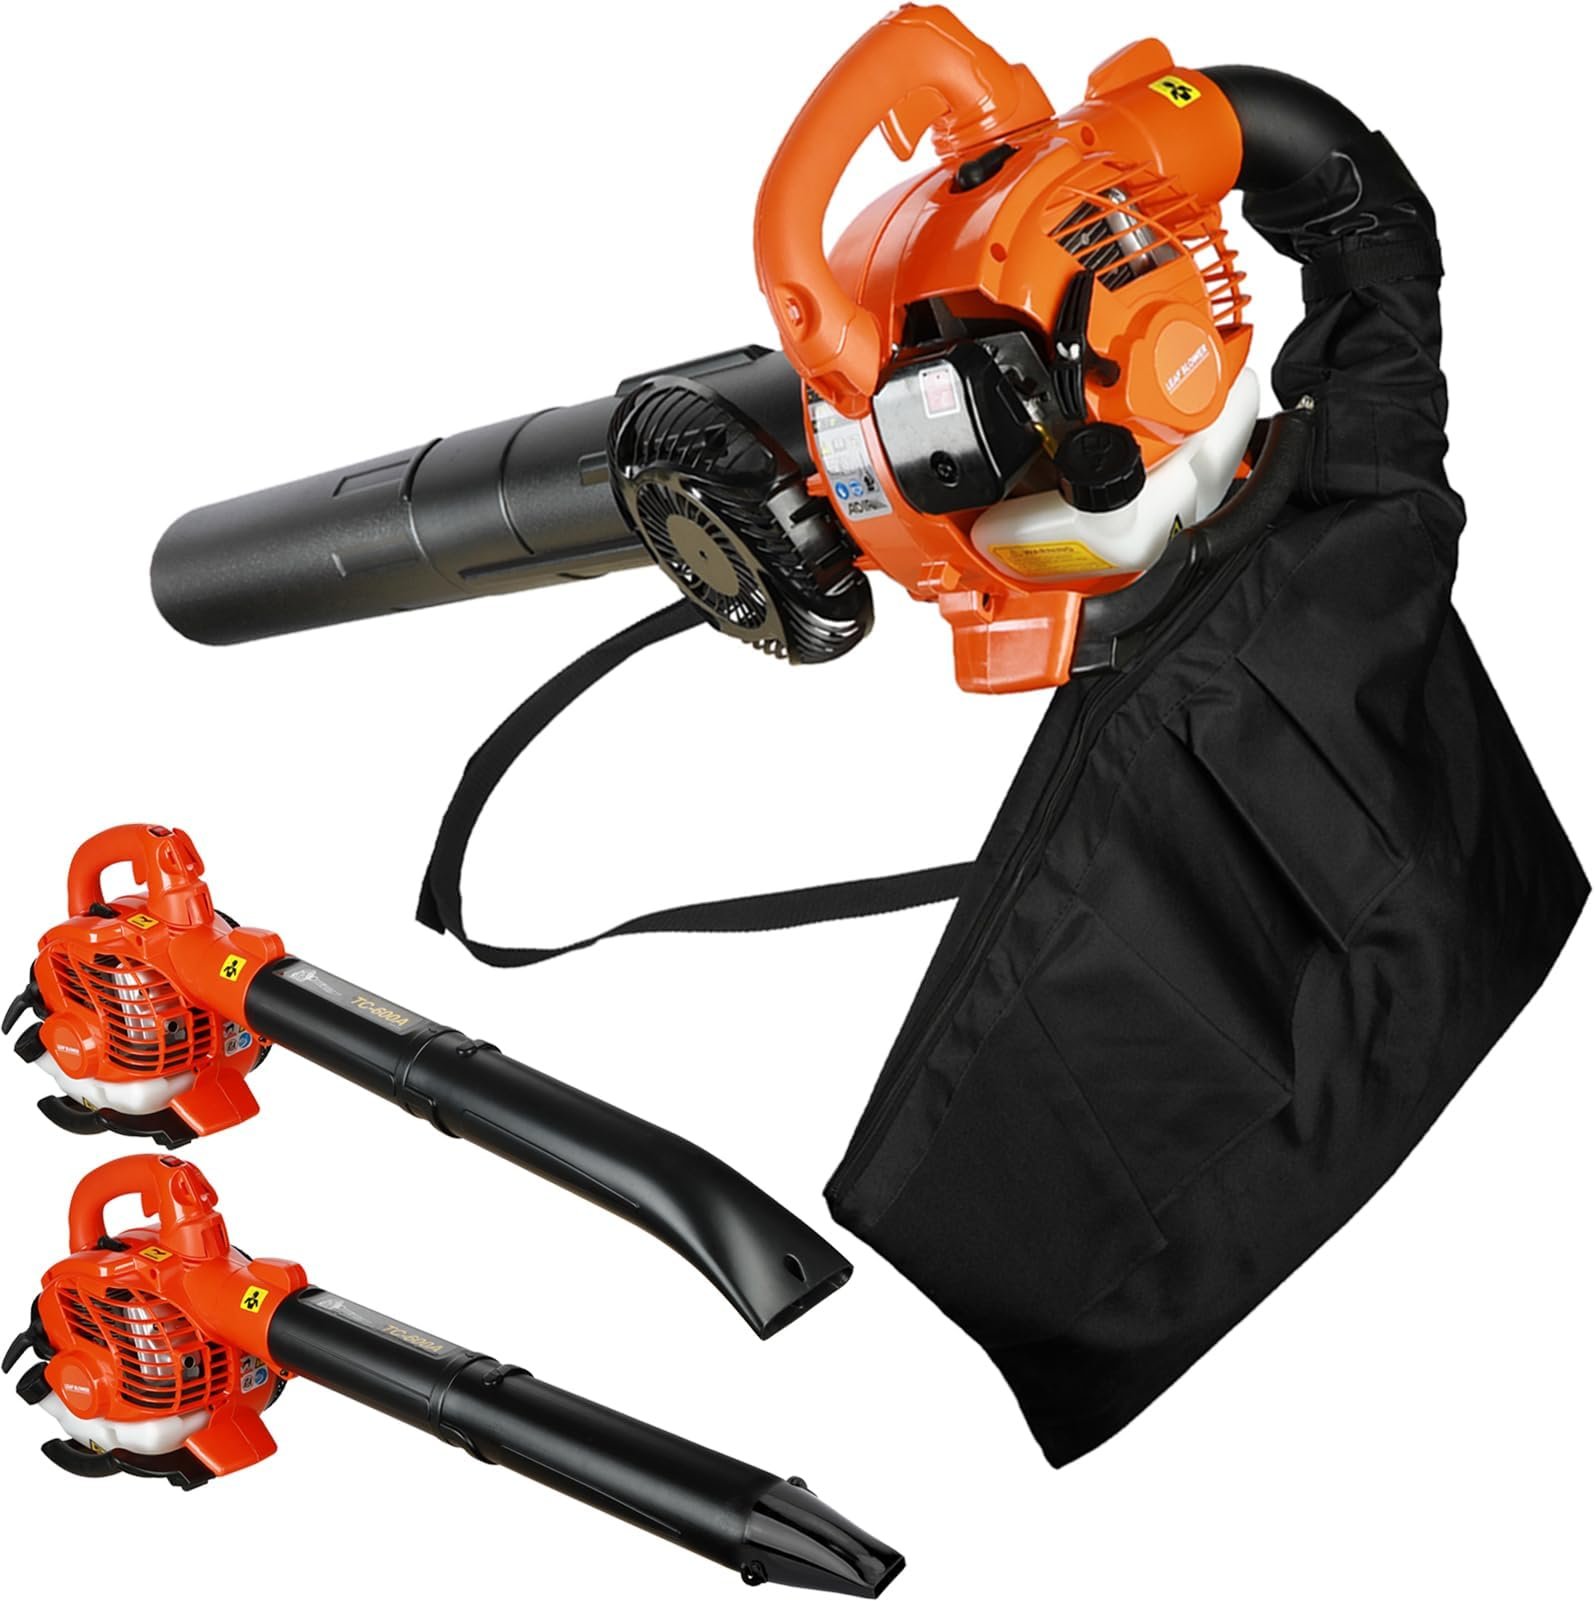
A leaf blower vacuum works in two ways: it blows leaves into piles, then pulls them in and sends them to a collection bag. Some models also shred dry leaves into smaller pieces for mulch. In the United States, the safest method is to read the model manual, wear eye and hearing protection, clear the yard first, and use the blower and vacuum modes for the jobs they suit best.
This guide explains how to use a leaf blower vacuum, how to switch modes, how to avoid clogs, and how to handle electric, cordless, and gas models.

What Is a Leaf Blower Vacuum?
A leaf blower vacuum is a yard tool with a blower tube, vacuum tube, collection bag, and internal impeller. The blower pushes air out to move leaves. The vacuum pulls leaves in through an intake tube.
Many models include a mulching function. A rotating impeller cuts dry leaves into smaller pieces before they enter the bag. Smaller pieces take up less space and may break down faster in a compost pile.
A blower vacuum is not the same as a household vacuum. It is built for light yard debris, such as:
- Dry leaves
- Small grass clippings
- Pine needles
- Small twigs within the size limit in the manual
- Light debris on lawns, driveways, and patios
Do not assume the tool can safely pick up every item in the yard. Rocks, glass, metal, wet clumps, long vines, and large sticks can damage the impeller or create a safety risk.
Main parts
Most leaf blower vacuums include these parts:
- Blower tube: Directs air toward leaves.
- Vacuum tube: Carries leaves into the impeller.
- Collection bag: Holds leaves after vacuuming.
- Impeller: Moves air and may shred leaves.
- Mode switch or lever: Changes the tool from blowing to vacuuming.
- Trigger and speed control: Adjusts air flow on some models.
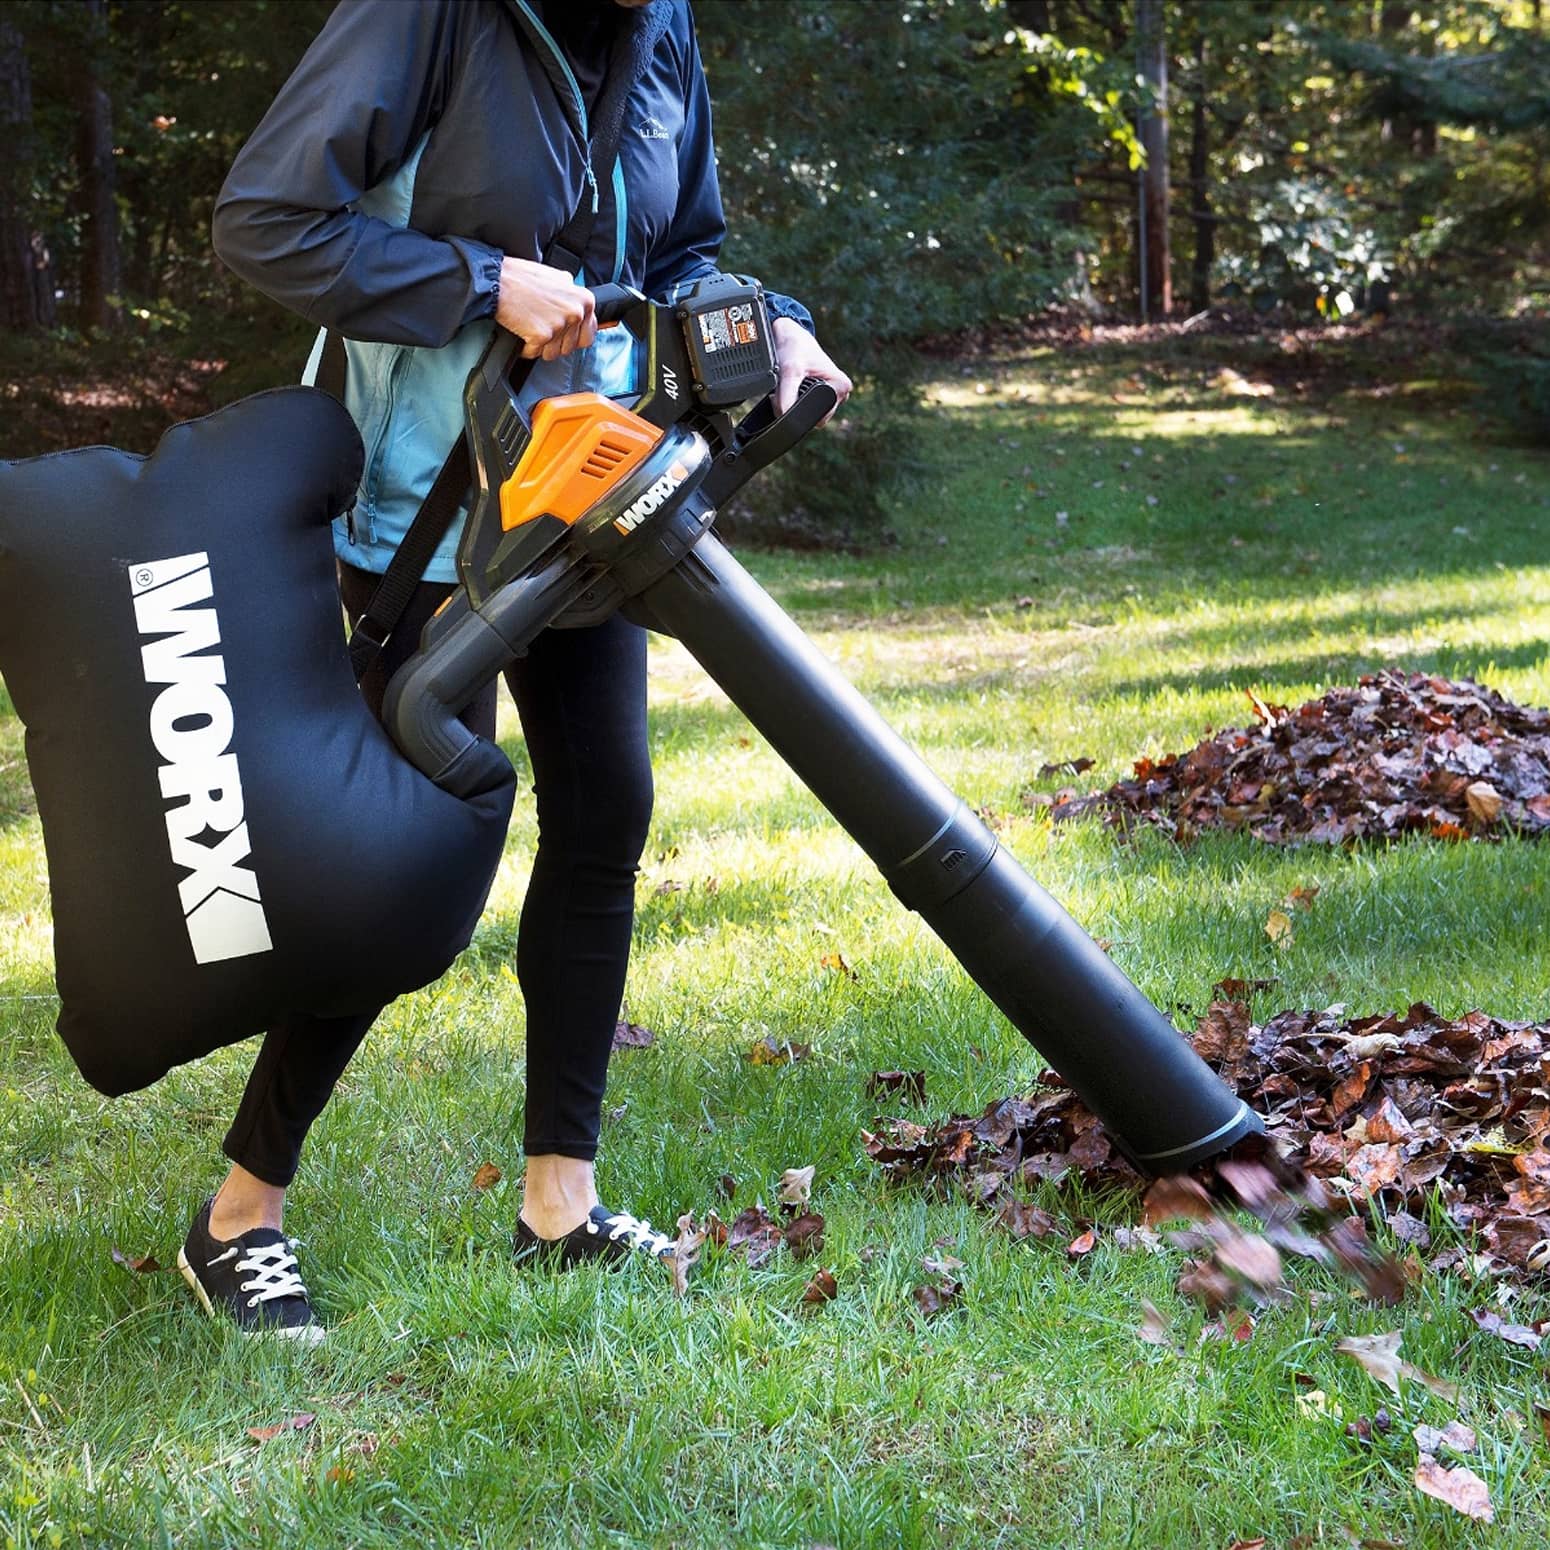
- Shoulder strap: Supports the collection bag on many models.
Check the manual before assembly. Some tools need a special vacuum tube or intake cover before the motor will start.
What You Need Before You Start
Prepare the tool, the yard, and your safety gear before starting the motor.
Required safety gear
Wear:
- Safety glasses or a face shield
- Hearing protection
- Sturdy, closed-toe shoes
- Long pants
- Work gloves when handling debris or clearing a jam
A dust mask may help when dry leaves create a cloud of dust. If you have asthma, allergies, or another breathing condition, avoid dusty conditions and follow your health professional’s advice.
Do not wear loose clothing, dangling jewelry, or anything that could reach the intake opening.
Inspect the work area
Walk through the area before using the tool. Remove:
- Stones
- Toys
- Cans
- Wire
- Glass
- Pet waste
- Large branches
- Sprinkler parts
- Garden tools
Keep children and pets away from the work area. Blown debris can travel farther than expected. Never point the blower at people, animals, cars, windows, or doors.
Check local rules before use. Some U.S. cities and towns limit gas-powered leaf blowers or restrict operating hours. Local noise rules may also apply to electric and battery models.
Check the machine
Before connecting power or starting the engine:
- Confirm that the housing is intact.
- Check the blower tube, vacuum tube, and bag.
- Make sure the bag zipper is closed and the bag is not torn.
- Check that guards and covers are installed.
- Confirm that the impeller is not blocked.
- Inspect a power cord for cuts or exposed wires.
- Check the battery and charger for damage.
- Add the correct fuel only if the manual calls for it.
For a corded model, use the extension cord type and length listed in the manual. Keep the cord behind you and away from the intake, hot surfaces, water, and sharp edges.

How to Use the Blower Mode
Use blower mode first when leaves are spread across a lawn, driveway, or patio. Blowing gives you control over the pile and reduces the chance of pulling unwanted objects into the vacuum.
Follow these steps
-
Install the blower tube.
Lock the tube in place. Some models will not start unless the tube and safety cover are fitted correctly. -
Choose a safe starting position.
Stand with both feet firm on the ground. Hold the tool at your side, with the nozzle pointed forward and slightly down. -
Start at a low speed.
A high setting can scatter leaves and dust. Increase the speed only when needed. -
Work with the wind.
Let the wind help move leaves. Avoid blowing into streets, drains, open garages, or neighboring yards. -
Use a sweeping motion.
Move the nozzle from side to side. Keep it a few inches above the ground. Blowing straight down can push debris into cracks or create a dust cloud. -
Make small piles.
Move leaves in short stages instead of trying to push them across the whole yard at once. -
Finish with one larger pile.
Place the pile where you can vacuum it without pulling in stones, soil, or mulch.
How to control leaves
For better control, aim the air stream behind the leaves rather than directly at their center. This acts like a small wave and moves the group forward.
On grass, use a lower speed when possible. High air speed can lift dust and dry soil. On hard surfaces, a moderate speed often works well. Wet leaves may need more power, but many blower vacuums are not designed to vacuum wet material.

How to Use the Vacuum and Mulcher Mode
Vacuum mode works best after you gather leaves into a clean, dry pile. Do not rush this step. The vacuum can pull in stones, sticks, and other objects that the blower would have left behind.
Change from blower to vacuum mode
Always follow the model manual, but the usual process is:
- Turn the tool off.
- Disconnect the power cord or remove the battery.
- Wait until the impeller stops completely.
- Install the vacuum tube or intake attachment.
- Attach the collection bag.
- Lock the intake cover and tube in place.
- Reconnect power or reinstall the battery.
- Start the tool and test it at low speed.
For gas models, shut off the engine and wait for all moving parts to stop. Do not work near the impeller while the engine could restart.
Vacuum the pile
Hold the vacuum tube just above the leaves. Do not force the tube into the ground. Use slow, steady movements and let the machine pull in the leaves.
Keep checking the collection bag. Stop before it becomes packed full. A full or tightly packed bag can reduce air flow and make the tool harder to handle.
If the model has a mulcher, dry leaves may be reduced as they pass through the impeller. Mulching is useful when:
- You want to carry fewer bags.
- You plan to use leaves as garden mulch.
- You are adding leaves to compost.
- You want to clear a lawn more quickly.
Empty the collection bag
- Turn off the tool.
- Disconnect the cord or remove the battery. For gas models, shut off the engine.
- Wait for the impeller to stop.
- Remove the bag.
- Open it away from your face.
- Empty the contents into a compost area, garden bed, or yard-waste container.
- Close and reinstall the bag before using the tool again.
Do not empty a bag near an open flame. Dry leaves can catch fire easily.

How to Vacuum Different Types of Debris
The type and condition of debris affect performance. Use this guide before switching on vacuum mode.
| Debris | Recommended action | Reason |
|---|---|---|
| Dry leaves | Vacuum and mulch if allowed by the manual | Usually the easiest material to process |
| Damp leaves | Blow first and let them dry when possible | Damp leaves can clump and block air flow |
| Wet leaves | Avoid unless the manual permits them | They add weight and may clog the tube |
| Pine needles | Vacuum in small amounts | They can form dense plugs |
| Small twigs | Use only within the manual’s size limit | Larger pieces can damage the impeller |
| Gravel or stones | Do not vacuum | They can damage the impeller and become dangerous projectiles |
| Acorns and nuts | Use caution or avoid them | Hard objects can damage the machine |
| Glass or metal | Never vacuum | These materials can break, cut, or damage the tool |
| Long grass or vines | Remove by hand first | Fibers can wrap around the impeller |
A blower vacuum may appear powerful enough to handle hard debris, but power does not make the intake safe for that material. If you are unsure, leave the object out and remove it by hand after shutting down the tool.

Electric, Cordless, and Gas Leaf Blower Vacuums
The basic operating steps are similar, but each power type has different limits.
Corded electric models
Corded models need a safe outdoor power setup.
- Use an outdoor-rated extension cord if the manual permits one.
- Match the cord size and length to the manufacturer’s instructions.
- Use a ground-fault circuit interrupter, or GFCI-protected outlet, where required.
- Keep all electrical connections dry.
- Do not carry the tool by the cord.
- Disconnect the cord before clearing a blockage.
A cord can limit movement. Plan your route before starting so you do not drag it across the work area.
Cordless battery models
Cordless models are easier to move, but runtime depends on the battery, speed, debris, and temperature.
- Charge the battery with the approved charger.
- Keep battery contacts clean and dry.
- Do not use a swollen, cracked, hot, or damaged battery.
- Remove the battery before clearing a jam.
- Store batteries as the manual directs.
- Keep spare batteries away from metal objects that could bridge the contacts.
A battery model may slow down as its charge falls. That can be normal. If it stops suddenly, let the battery cool and check the manual before trying again.
Gas-powered models
Gas units need extra care.
- Start the engine outdoors.
- Never run the engine in a garage, shed, basement, or other enclosed area.
- Use the correct fuel mixture or fuel type listed in the manual.
- Refuel only after the engine cools.
- Keep fuel away from sparks, heat, and open flames.
- Stop the engine before changing tubes or clearing debris.
Gas engines create carbon monoxide. You cannot see or smell this gas, so outdoor operation is essential.

How to Clear a Clog Safely
A clog often causes weak suction, a change in motor sound, or a sudden stop. Do not reach into the tube while the tool is connected to power.
Use this sequence:
- Turn the tool off.
- Unplug it, remove the battery, or shut off the gas engine.
- Wait until every moving part stops.
- Set the tool on a stable surface.
- Check the vacuum tube, intake opening, and bag connection.
- Remove the blockage with a tool or gloved hand only after power is fully disconnected.
- Inspect the impeller for damage.
- Refit all guards and tubes.
- Restart at low speed.
Do not use your fingers near an unseen impeller. A blade can remain under tension or move if the machine is turned unexpectedly.
If the clog returns, the material may be too wet, too large, or unsuitable for the tool. Stop using the vacuum mode and review the manual.

Troubleshooting Common Problems
Use the safest and simplest checks first.
| Problem | Likely cause | What to do |
|---|---|---|
| Motor will not start | Tube, cover, or bag is not locked | Turn off power and check each safety lock |
| Weak suction | Full bag, blocked tube, low battery, or dirty intake | Empty the bag, clear the tube, charge the battery, and inspect the intake |
| Leaves blow out of the bag | Bag is loose, torn, or fitted incorrectly | Turn off the tool and refit or replace the bag |
| Tool vibrates | Hard object or damaged impeller | Disconnect power and inspect for foreign objects or damage |
| Motor sounds strained | Wet leaves, packed bag, or blocked air flow | Stop, empty the bag, clear the blockage, and use dry material |
| Mulching is poor | Leaves are too wet or the impeller is worn | Let leaves dry and inspect the machine according to the manual |
| Tool overheats | Restricted air flow, long use, or heavy load | Stop the tool, clear the air path, and let it cool |
| Corded unit loses power | Loose connection or unsuitable extension cord | Disconnect safely and check the cord setup |
| Battery unit stops | Low charge, high temperature, or battery fault | Remove the battery, let it cool, and follow the battery manual |
Do not keep using a tool that sparks, smells like burning insulation, leaks fuel, or has a cracked housing. Disconnect it and arrange qualified repair or replacement.

How to Maintain a Leaf Blower Vacuum
Basic maintenance helps preserve air flow and reduces avoidable faults.
After each use:
- Empty the collection bag.
- Shake out dust from the bag as directed by the manual.
- Check the tubes for cracks or packed debris.
- Wipe dirt from the housing.
- Inspect the intake cover and guards.
- Look for loose screws or damaged fasteners.
- Store the tool in a dry place.
Do not spray water into the motor, controls, battery compartment, or electrical parts unless the manufacturer specifically allows it.
For gas models, follow the manual for air-filter care, spark-plug checks, fuel storage, and winter storage. For battery models, use the manufacturer’s storage instructions. Battery care can vary by chemistry and tool design.
Replace a damaged collection bag. A torn bag can release dust and debris toward the operator.

Common Mistakes to Avoid
The most common errors come from using the vacuum before preparing the area.
Avoid these mistakes:
- Vacuuming stones from a driveway
- Using the tool with a loose bag
- Clearing a jam while the battery or cord is connected
- Holding the nozzle too close to soil
- Operating near people or pets
- Running a gas model indoors
- Using a wet extension cord
- Filling the bag until it is hard and heavy
- Ignoring strong vibration or a burning smell
- Using fuel that does not match the manual
- Assuming a larger stick will pass through safely
- Blowing debris into a road, storm drain, or neighboring property
A leaf blower vacuum is a cleanup tool, not a general-purpose outdoor vacuum. Its limits protect the impeller and the person using it.

How to Get Better Results With Less Work
Use the blower and vacuum in separate passes. First, move leaves from open areas into small piles. Then remove objects from each pile. Finally, vacuum the clean, dry leaves.
Work in the direction of the wind when possible. Start with a low speed and raise it only when leaves fail to move. This reduces dust and keeps leaves from spreading again.
For large yards, work in sections. Mark a simple path and move leaves toward one collection point. Empty the bag often rather than carrying a heavy, tightly packed load.
If you plan to use shredded leaves as mulch, keep them away from plant crowns and avoid making a thick, wet layer. If you use compost, mix leaves with other suitable organic material and follow local yard-waste rules.
Frequently Asked Questions
Can you use a leaf blower vacuum on wet leaves?
Only if the manufacturer allows it. Wet leaves are heavy and can stick inside the tube or bag. For easier cleanup, blow wet leaves into a thin layer and let them dry before vacuuming.
Can a leaf blower vacuum pick up small sticks?
Some models can handle small twigs, but the permitted size varies. Check the manual. Do not vacuum large sticks, sharp branches, stones, or hard objects.
Should you blow or vacuum leaves first?
Blow first. Gather leaves into a clean pile, remove unwanted objects, and then switch to vacuum mode. This reduces clogs and impeller damage.
Why does my leaf vacuum keep clogging?
Common causes include wet leaves, pine needles, long grass, large twigs, a full bag, or a restricted tube. Disconnect all power before clearing the clog. If the issue continues with dry leaves, inspect the impeller and contact the manufacturer or a qualified repair service.
Can I use the shredded leaves as mulch?
Often, yes, if the leaves are free of trash and the machine is designed to mulch them. Use a thin layer around plants and avoid covering stems or trunks. Follow local compost and yard-waste rules.
Conclusion
To use a leaf blower vacuum well, clear the work area, wear eye and hearing protection, blow leaves into a clean pile, and vacuum only suitable dry debris. Switch modes only after shutting off and disconnecting the tool. Empty the bag before it becomes packed, and stop at once if the machine vibrates, overheats, sparks, or smells burnt.
Before your next cleanup, read the manual for your exact model and check your local U.S. rules for operating hours, noise, fuel, and yard-waste disposal.